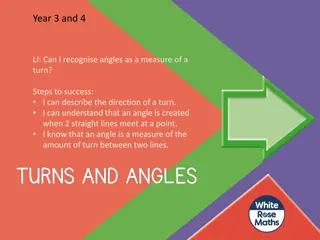
Exploring Turns and Positions in Year 1 Mathematics
Delve into the world of turns and positions with engaging lessons focusing on making full, half, and quarter turns. Discover how objects change their orientation through informative images and practical outdoor activities. Understand concepts like rotation and direction in a fun and interactive way, enhancing mathematical fluency and spatial awareness in young learners.

Download Presentation

Please find below an Image/Link to download the presentation.
The content on the website is provided AS IS for your information and personal use only. It may not be sold, licensed, or shared on other websites without obtaining consent from the author. Download presentation by click this link. If you encounter any issues during the download, it is possible that the publisher has removed the file from their server.
E N D
Presentation Transcript
YEAR 1 Position & Direction Describe turns Describe position (1) Describe position (2) Block 3 Week 6
Lesson 1 Step: Describe turns
Fluency Stand up Make a full turn Make a half turn Make a quarter turn
Fluency How has the shape been turned? Full turn Half turn Quarter turn Quarter turn
Fluency How has the shape been turned? Full turn Half turn Half turn Quarter turn
Fluency How has the shape been turned? Full turn Half turn Quarter turn Quarter turn
Fluency How has the shape been turned? Full turn Full turn Half turn Quarter turn
How has the frame been turned? Quarter turn
How has the frame been turned? Half turn
How has the bear been turned? Half turn
If a full turn is made, the object will be in the same position as it started. Is Che correct? Yes, objects will be in the same position as they started if a full turn is made.
What do you notice about this object when a full turn and a half turn is made? The frame will look the same as it will be in the same position.
Lesson 2 Step: Describe position (1) (Practical)
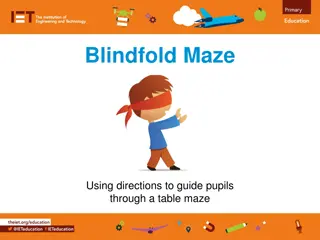
Fluency Outdoor practical: Mark your grid with chalk and write a route for your partner to follow. Write your route and record it on a grid. Word Bank: up down left right
Reasoning Spot the mistake in the route to get from the start position to the end position. Up Up Left Left Up Up Right Right END START
Problem solving How many different routes can you find to get from the start to the end position? START END
Problem solving How many different routes can you find? X What is the shortest route?
Lesson 3 Step: Describe position (1)
Fluency Complete the sentences using left or right. right The square is to the ______________ of the triangle. right The circle is to the ______________ of the rectangle. left The rectangle is to the ______________ of the circle.
Fluency Complete the sentences using left or right. left The rectangle is to the ______________ of the circle. The square is to the ______________ of the triangle. right left The triangle is to the ______________ of the square.
Fluency Complete the sentences using above, below, left or right. The rectangle is ______________ the circle. above left The triangle is to the ______________ of the square. The arrow is to the ______________ of the square. below
Which sentences are correct? The strawberry is up from the banana. The cherry is to the left of the pear. The orange is up from the apple. The banana is to the right of the orange.
Write your own sentences to describe the positions of the fruit. Word Bank: up down left right
Lesson 4 Step: Describe position (2) (Practical)
Fluency Task 1 (20 minutes): Describe what is around you and complete the table below. In front of you Behind you To the left of you To the right of you
Fluency Task 2 (20 minutes): Use your table to create sentences to describe what is around you. For example: The _______________ is above the _______________. The _______________ is below the _______________. The _______________ is to the right of the _______________. The _______________ is to the left of _______________. In between _______________ and _______________ is _______________. There is nothing in between _______________ and _______________.
Lesson 5 Step: Describe position (2) (Practical)
Build the cube structure. Describe the position of the cubes exploring what is: above, below, left and right.
Build the cube structure. Describe the position of the cubes exploring what is: above, below, left and right.
Build the cube structure. Describe the position of the cubes exploring what is: above, below, left and right.
Problem solving Build the cube structure using the clues then draw it. Use 3 cubes. Start with a green cube. Put a yellow cube to the right of it. Put a red cube above the yellow.
Problem solving Build the cube structure using the clues then draw it. Use 4 cubes. Start with a red cube. Put a blue cube to the right of it. Put a green cube above the blue. Put a yellow cube to the left of the red.
Problem solving Build the cube structure using the clues then draw it. Use 5 cubes. Start with a green cube. Put a blue cube to the left of it. Put a brown cube below the blue. Put a red cube to the right of the green. Put a yellow cube above the red.