Streamlining Accident Documentation and Investigation Process with EDGEauditor
Streamline accident documentation and investigation procedures with the EDGEauditor application. Learn how to log in, access different modules, start a new accident report, and save reports efficiently. Save time and ensure accurate reporting with the tools provided in this digital solution.
Download Presentation

Please find below an Image/Link to download the presentation.
The content on the website is provided AS IS for your information and personal use only. It may not be sold, licensed, or shared on other websites without obtaining consent from the author. Download presentation by click this link. If you encounter any issues during the download, it is possible that the publisher has removed the file from their server.
E N D
Presentation Transcript
Accident Documentation and Accident Documentation and Investigation (10 Investigation (10- -35s) 35s) The digital version! https://www.Edgeauditor.com/download/resort https://www.Edgeauditor.com/download/resort
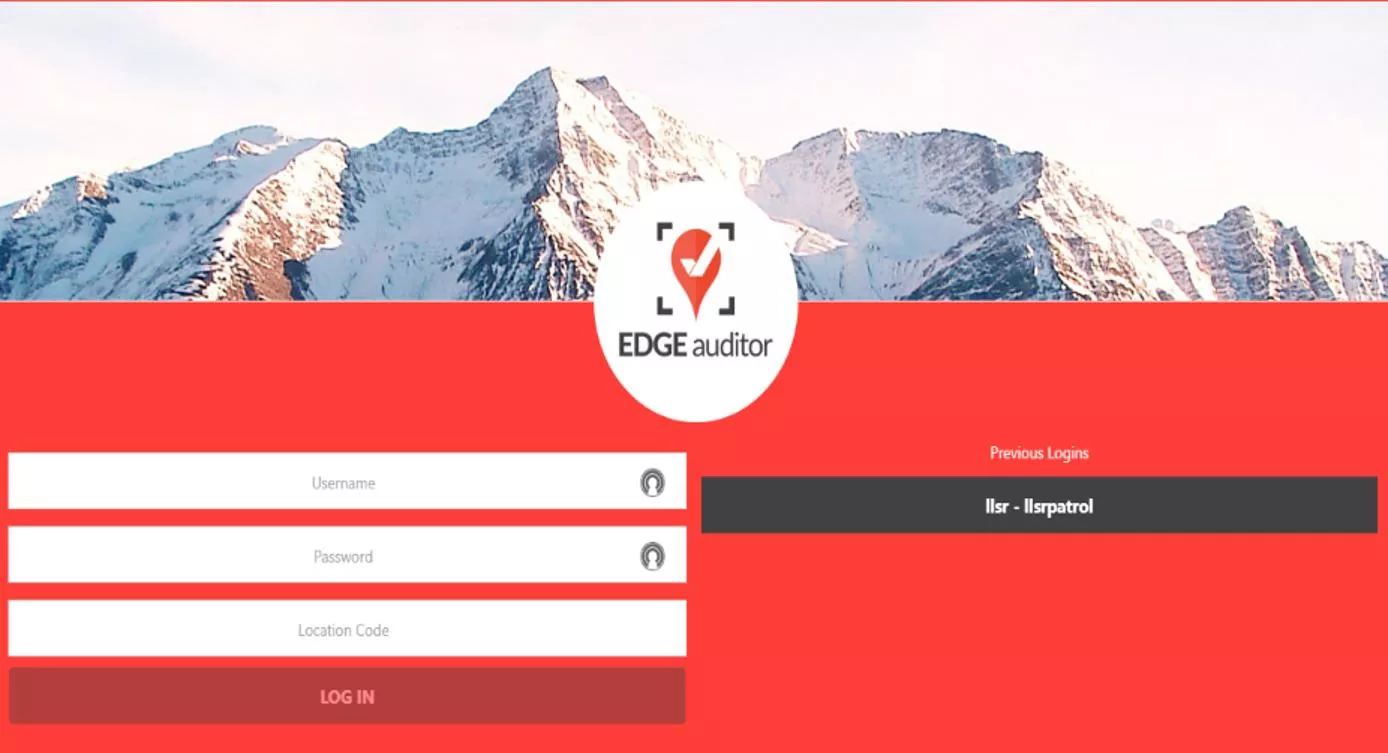
Login Login Enter username, password and location code (case sensitive) - This will be provided to you by the department supervisor or dispatch Tap the Login button to log into the EDGEauditor application
Getting Getting Started Started Upon successful login, you will be taken directly to the app main screen that shows each of the modules you have access to.
The NEW REPORT module is where you will likely spend the bulk of your time in the EDGEauditor app. To start, we re going to review the accident report. To start a new accident report: 2. Tap on NEW REPORT. Scroll all the way to the bottom of the page and tap on the Accident Report 1. Choose NEW REPORT, which will take you to the accident report home screen.
Accident Report: General Functionality Overview Accident Report: General Functionality Overview Accident Report Home Screen Accident Report Home Screen By default, a new Report ID will always be generated for you. You can complete the sections in any order by tapping on the tile below Incident Time/Incident Date IMPORTANT NOTE: You can t save to the cloud until you input the Incident Date, Incident Time, Patient First Name & Patient Last Name.
Saving Reports Saving Reports Tapping on the green SAVE REPORT button at the bottom of the accident report home screen will display up to 3 options. o Save Incomplete Report to this Device > Saves the report to the specific device you are using, meaning to complete the report you would have to use the same tablet or phone. To access this report again from the same device, you would select PENDING LOCAL REPORTS from the main app screen. o Save Incomplete Report to Cloud > Saves the incomplete report to the cloud, meaning you can complete the report on any device with the EDGEauditor app installed. To access this report again, you would select IN-PROGRESS ACCIDENT REPORTS. IMPORTANT NOTE: Only the Accident Report can be saved to the cloud incomplete; other reports will only save to the local device. o Save and Close Out Report to Cloud> Selecting this option indicates you have completed the report in its entirety and are ready to submit it for approval. You will receive a prompt confirming your selection. Tapping on the red CANCEL/DELETE PROGRESS button that sits beside the SAVE REPORT button will either not save any changes you ve made since your last save, or erase any data you ve entered if you ve never saved the report prior.
Accident Report Sections Accident Report Sections A Home icon in the top left-hand corner is accessible from any accident report section. Tapping on this icon will take you back to the accident report home screen. o If you tap on this icon without first saving the data you ve entered for a specific section, your information will still be there when you return to that screen. The scroll bar located at the top of the page is also accessible from any accident report section. o If you change sections without tapping the SAVE REPORT button first, the data you input will still be there when you return to that screen. o The section you are currently on will be highlighted in red.
Saving Sections Saving Sections You can save your progress in a section at any time by tapping on the green SAVE REPORT button at the bottom of the screen. Tapping on this button will display the below pop up, confirming your data entered in this section have been saved. o Go Home > This will take you back to the accident report home screen. o Continue > This will keep you on the current screen so you can continue to fill in details of the incident, review the data entered, etc.
A Accident Report: Completing the Report Sections ccident Report: Completing the Report Sections 1. From the accident report home screen, enter the Incident Time and Incident Date (if the accident report was initiated via dispatch, these fields will already be filled out). IMPORTANT NOTE: Incident Time & Incident Date are 2 of 4 mandatory fields that are required before an accident report can be saved or submitted for approval. 2. Complete each of the accident report sections. You can complete the sections in any order. For the purposes of this guide, we ll walk through completing the sections in sequential order.
3. Tap or click on the PATIENT section to fill out all the details regarding the injured person. IMPORTANT NOTE: Patient First Name & Patient Last Name are the other 2 mandatory fields that are required before an accident report can be saved. IMPORTANT NOTE: For patient signatures, tap the SIGNATURE button at the bottom of the Patient Page. Patients can write their signature in the box. Save to capture.
4. Next, you will add any applicable injuries the person sustained by filling out the COMPLAINT report section. To add more than one injury, simply tap on the ADD INJURY button. Add as many injuries as necessary to document all injuries found. Indicate primary injury by checking the IS THIS THE PRIMARY INJURY indicator
5. After youve added any injuries, you will then complete the FIRST AID section to document any first aid provided on scene and back at base. I.e. First aid on scene Primary survey, package, transport, secondary survey, splint, recommend doctor etc. IMPORTANT NOTE: Remember that medications are ALWAYS self administered (i.e. by the patient), unless intravenously by a paramedic or doctor (32), whose full name must be recorded.
6. The next section to be completed is WITNESS. If no known witnesses are available at this time, simply tap No known witnesses at this time . You can add an additional witness by selecting the Add a second witness form button. IMPORTANT NOTE: For witness signatures, tap the SIGNATURE button at the bottom of the witness Page. Witnesses can write their signature in the box. Save to capture.
7. Next, you will proceed to the LOCATION & CONDITIONS. Based on the selections you make, additional drop text fields may populate for you to complete. For example, if you select Marked Ski Run a dependent drop down will appear allowing you to choose the specific ski run by name. Helpful Hint:Start typing the name of the ski run, terrain park/terrain park feature, lift to filter the results based on what you type. A text box below the Incident Location drop down(s) allows you to write the specifics of the incident location (e.g., half way down and 5 meters to the left of the Good Intentions Perm Fence).
8. After selecting your incident location, tapping on PIN LOCATION ON MAP will allow you to geo locate the specific area where the accident occurred. Use the map screen to zoom in and move the map marker to the correct location. Once you have chosen the correct spot, tap on Capture Pinned Location. This will take you back to the accident report home screen where your longitude and latitude coordinates have been recorded. If you need to change the coordinates, just tap on RESET PIN LOCATION.
9. The last section is TRANSPORT. This is where you will select all the pertinent details regarding how the injured person arrived at resort aid, the patrollers involved, etc. Based on the selections you make, additional drop text fields may populate for you to complete. If the accident report was initiated by dispatch there may already be a patroller assigned to the report. For PATROLLERS ROLE you will select if you were first, second, etc. on scene, Whisky Patroller, etc. for each responder. If a responder s name is not n the drop down it can be added in the PATROLLERS INVOLVED (NAME & ID) box. IMPORTANT NOTE: Please include 32s if applicable. Helpful Hint: For Select Patroller, you can start to type the patroller s name which will filter the results that display.
10.Back on the accident report main screen, before you choose to save your report you will need to decide if it needs to be flagged for review. For CSP, make sure your report has been reviewed by a paid patroller. If there are no paid staff around, tell dispatch and mark for review so they can check it before you leave. If the incident was a 10-35 (requires an Accident Investigation), flag for review. Any other incident where you deem appropriate, flag for review. Simply tap the FLAG INCIDENT TO MANAEMENT FOR REVIEW button. 11. Last but not least, you will tap on SAVE REPORTnow that you ve filled out all information regarding the accident. Regardless of the option you choose (Save Incomplete Report to this Device, Save Incomplete Report to Cloud or Save and Close Out Report to Cloud), you will receive a follow up prompt confirming your selection.
From the NEW REPORT icon, you will find the Accident Investigation folder inside the REPORTS page Many of the 10-35 forms are inside here. I.e: o Collision Report o Lift Incident Report o Patrol Report o Slip, Trip & Fall Report o Terrain Park Report o Witness Statement Those forms not available on the app, must still be completed on paper. Helpful Hint: Once you open an Accident Investigation Report, you can link it to your patient s Accident Report by tapping the LINK TO ACCIDENT REPORT button. You can link by either name or report number
Pending Local Reports Pending Local Reports If you started a report and selected Save Incomplete Report to this Device, then back on the main screen you will see a numerical valued (e.g., 2 ) in the top right-hand corner of the PENDING LOCAL REPORTS module To find a pending local report (not yet uploaded to the cloud): 1. Tap on PENDING LOCAL REPORTS from the app main screen. 2. Find the report you wish to finish from the list and tap the edit icon (looks like a pencil). You can now go through and continue with the report.
In Progress Accident Reports (Saved to the Cloud) In Progress Accident Reports (Saved to the Cloud) If you started a report and selected Save Incomplete Report to Cloud, then after selecting the Accident Report module from the list of available reports, you will see a numerical valued (e.g., 3 ) in the top right-hand corner of the IN-PROGRESS ACCIDENT REPORTS module To find an in-progress accident report saved to the cloud: 1. Tap on NEW REPORT > Accident Report > IN- PROGRESS ACCIDENT REPORTS 2. Find the report you wish to finish from the list and tap the edit icon. You can now go through and continue with the report.
Rejected Reports Rejected Reports After you ve submitted a report for approval by selecting Save Report > Save and Close Out Report to Cloud, it will appear on mine and dispatch s computers for supervisor approval. If any reports have been rejected, it will appear as a numerical value (e.g., 1 ) in the top right-hand corner of the REJECTED REPORTS module on the app main screen A report can be rejected for any number of reasons. If a report is rejected, the approver has the option to leave a comment so you can quickly tell what you need to correct. To find a rejected report: 1. Tap on REJECTED REPORTS from the main screen. 2. Find the rejected report you re looking for and tap the edit icon. You can now update/fix the report following the reason given for its rejection (if available) and then re-submit for approval by tapping Save Report > Save and Close Out Report to Cloud.
Accident Investigations Accident Investigations - - Overview Overview What is an AI (10-35)? Accident Investigation ( AI , or by radio code 10-35 ), is the gathering of information surrounding a particular incident involving a guest or staff member, above and beyond an Accident Report (NSAAR). Why do we do it? In the event the Lake Louise Ski Area (LLSA) is exposed to the potential of litigation resulting from an incident, a 10-35 will provide important additional information and context to help minimize that exposure.
When do we do it? All accidents involving company equipment or property (lifts, vehicles, snow guns, power poles etc. man made objects) COLLISIONS with man made objects or another person SLIP TRIP or FALL Injuries All accidents CODED YELLOW, RED or BLACK, as per patrol triage protocols. All accidents involving SKI SCHOOL, MOUNTAIN HOSTS, LLSA RENTAL EQUIPMENT, WCB (staff), LIFT INCIDENTS Accidents in the TERRAIN PARK, or TUBE PARK Whenever a patient or other member of the public threatens LITIGATION. Any other situations when deemed appropriate by the Patrol Supervisor, me, or you!
Key Points: All patrollers are expected to conduct investigations and record information to the same standard. Complete all forms most appropriate to your involvement. Must be completed as soon after the event as possible, while details are still fresh in people s minds. Utmost attention to detail, thoroughness, legibility, and respect for private patient information. Remember these are legal documents, so every detail counts! You let Dispatch know when a 10-35 needs to be conducted so they can send someone appropriate to the scene. More experienced patrollers and dispatchers are useful sources of info.
Dont Forget: The truest thing the injured guest will say about their accident is the first words out of their mouth Identify the people involved and WITNESSES, and ask them to stick around to give witness statements. If you are completing forms on paper: o These are legal documents, use blue or black ball point pens. o Make it legible! o Do not use white-out o NEVER leave a blank space Anything you write in any 10-35 paperwork must be the facts , your opinions are not welcome there. Privacy and Confidentiality: Talk to Dispatch, Patrol Supervisors or myself for any requests for information, regardless of the source. In no circumstances are patrollers permitted to supply information to anyone other than their immediate supervisors. All paperwork must stay at the ski hill
A Question to Guide You: Ask yourself if, five years from now, someone who had no knowledge of the incident could get a clear picture of what happened based only on your report. Also, Ask yourself how YOU will be able to remember the details, for example, of this one broken wrist, over the hundreds of others you will likely see during your time at Lake Louise. Finally: Get familiar with all the forms, so you can anticipate which ones each situation might need, and whether or not you require the patient, witness, instructor, liftie, etc. to fill one out. Paid Patrol, Patrol Leaders, Dispatch, Seniors, Lieutenants, and Stace are here to help. HAVE A GREAT SEASON!
