Junior Lathe Project
The Mini Bakers Pin Junior Lathe Project is an ideal beginner lathe project that focuses on applying basic skills by creating concave and convex cuts, turning a square-edged blank round, and emphasizing precise measurement techniques. Students can showcase creativity through thoughtful design and lamination of the blank, making it a classy gift or keepsake. Check out the step-by-step manufacturing plans and materials list for this engaging project.

Download Presentation

Please find below an Image/Link to download the presentation.
The content on the website is provided AS IS for your information and personal use only. It may not be sold, licensed, or shared on other websites without obtaining consent from the author.If you encounter any issues during the download, it is possible that the publisher has removed the file from their server.
You are allowed to download the files provided on this website for personal or commercial use, subject to the condition that they are used lawfully. All files are the property of their respective owners.
The content on the website is provided AS IS for your information and personal use only. It may not be sold, licensed, or shared on other websites without obtaining consent from the author.
E N D
Presentation Transcript
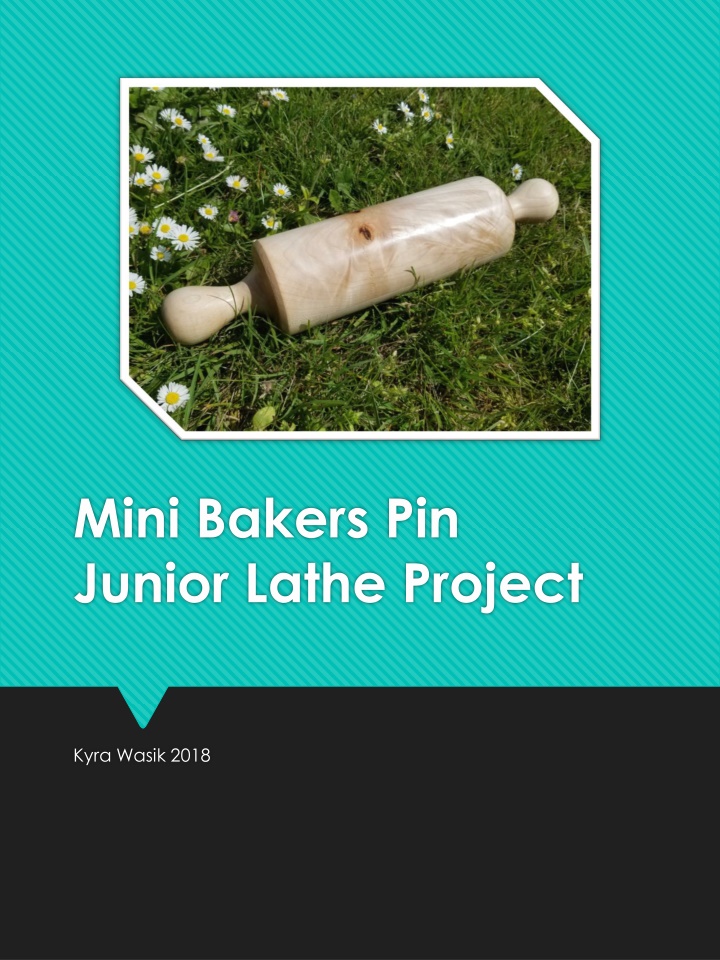
Mini Bakers Pin Junior Lathe Project Kyra Wasik 2018
Project Description The Mini Bakers Pin is a perfect beginner lathe project, as it allows the student to apply the basic skills they will have learned in other skill building exercises such as the spindle exercise. The pin allows a student to create concave and convex cuts, as well as turning a square edged blank round. It also introduces the idea of precise measurement and using the parting tool to mark sizes.
Motivation I chose the Mini Bakers Pin because it allows some creativity in the student as they can design their pin through use of thoughtful and creative lamination of the blank, as well as in the design of the profile of the pin. This project also is a great way to use up any small pieces of scrap hardwoods, and teaches the student to prepare potentially rough pieces for lamination. The pin makes for a classy gift or a great keepsake.
Manufacturing Plans 1. Begin with a 13-15 x 2.5 x 2.5 blank. The length depends on your finished length plus 2 or so to provide hold in the lathe. Encourage the student to create a rough layout with measurements on their blank and record or take a photo for reference after roughing the blank round. Use a cleat and live end to secure the blank in the lathe before beginning to round the blank. Use a heavy gouge.
2. Mark out your parting lines with pencil first, following your guide. Use calipers and a parting tool and part in to the piece to create a guide of where to turn your work down to. 3. Use different gouges and straight chisels to slowly bring your work down to shape, following the parting lines your created in the previous step.
4. Continue shaping your piece until you are happy, and begin sanding. Start at 60 or 80 grit and work your way up. For this particular piece we went up to 220 grit. 5. Finish with beeswax and polish with a clean cloth on the lathe. When polished to your preference, remove from lathe and sand the ends off where it was held in the lathe. Sand by hand and use a heat gun to work beeswax in to the ends.
Materials List & Cost Rough Size (and some choices of wood): White Maple 3 x 3 x 14 = 0.88 BF Cherry 3 x 3 x 14 = 0.88 BF or hardwood of choice Cost Breakdown White Maple: 0.88 BF x $4.60 = $4.04 Cherry: 0.88 BF x $5.95 = $5.22 This project is designed to use scrap wood though, so price should be negligible.