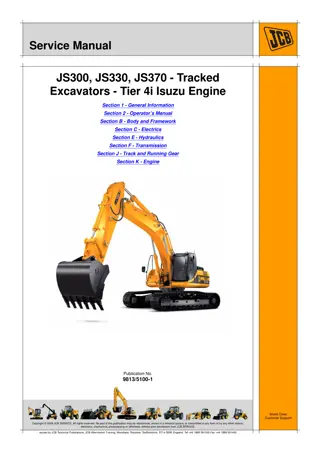
JCB JS460 Engine Isuzu AA-6SD1T Service Repair Manual Instant Download
Please open the website below to get the complete manualnn//
Download Presentation

Please find below an Image/Link to download the presentation.
The content on the website is provided AS IS for your information and personal use only. It may not be sold, licensed, or shared on other websites without obtaining consent from the author. Download presentation by click this link. If you encounter any issues during the download, it is possible that the publisher has removed the file from their server.
E N D
Presentation Transcript
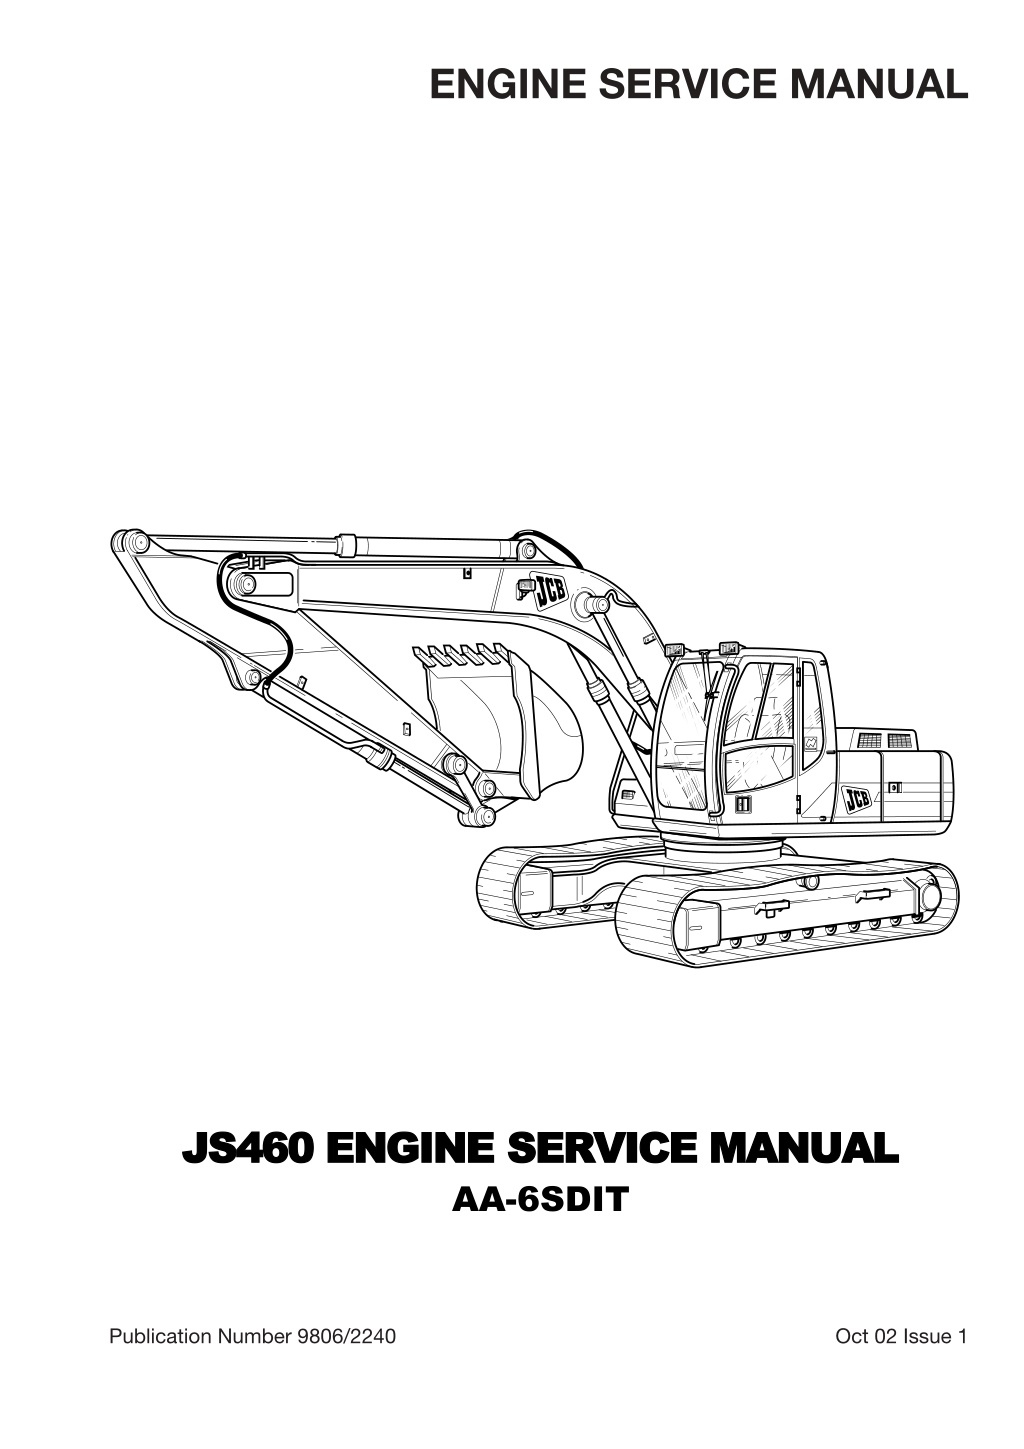
ENGINE SERVICE MANUAL JS460 JS460 ENGINE SERVICE ENGINE SERVICE MANUAL AA-6SDIT MANUAL Publication Number 9806/2240 Oct 02 Issue 1
Foreword This Workshop Manual has been prepared as a guide for the service and repair of the Model AA-6SD1T diesel engine. A general table of contents is shown on the following page, and more detailed subsections are listed at the beginning of each respective chapter. This manual was first prepared in April, 2001, but subsequent changes in design may result in modifications to certain values and other information in this Manual.
TABLE OF CONTENTS Chapter 1 General Information ........................................ 1 Chapter 2 Maintenance................................................. 21 Chapter 3 Engine I (Disassembly) ..................................... 37 Chapter 4 Engine II (Inspection and Repair) ......................... 55 Chapter 5 Engine III (Assembly) ....................................... 85 Chapter 6 Lubricating System......................................... 117 Chapter 7 Cooling system.............................................. 129 Chapter 8 Fuel System.................................................. 139 Chapter 9 Turbocharger ................................................ 153 Chapter 10 Engine Electrical ............................................ 173 Chapter 11 Troubleshooting............................................. 197 Chapter 12 Special Tools................................................. 219 Chapter 13 Repair Standard............................................. 223 Note: Before using this manual to perform maintenance and repairs, be sure to read the section General Servicing Precautions included in Chapter 1 (General Information).
https://www.ebooklibonline.com Hello dear friend! Thank you very much for reading. Enter the link into your browser. The full manual is available for immediate download. https://www.ebooklibonline.com
General Information CHAPTER 1 GENERAL INFORMATION CONTENTS ITEM PAGE General servicing precautions . . . . . . . . . . . . . . . . . . . . . . . . . . . . . . . . . . . . . . . . . . . . . . . . . . . . . Notes on the Format of this Manual . . . . . . . . . . . . . . . . . . . . . . . . . . . . . . . . . . . . . . . . . . . . . . . . About Angular Tightening . . . . . . . . . . . . . . . . . . . . . . . . . . . . . . . . . . . . . . . . . . . . . . . . . . . . . . . . Main Data and Specifications . . . . . . . . . . . . . . . . . . . . . . . . . . . . . . . . . . . . . . . . . . . . . . . . . . . . . . External View . . . . . . . . . . . . . . . . . . . . . . . . . . . . . . . . . . . . . . . . . . . . . . . . . . . . . . . . . . . . . . . . . . . Tightening Torque Specifications . . . . . . . . . . . . . . . . . . . . . . . . . . . . . . . . . . . . . . . . . . . . . . . . . . Tightening Torques for Main Parts . . . . . . . . . . . . . . . . . . . . . . . . . . . . . . . . . . . . . . . . . . . . . . . . . . 11 Model and Identification Serial Numbers . . . . . . . . . . . . . . . . . . . . . . . . . . . . . . . . . . . . . . . . . . . . 19 2 3 6 7 8 9 1
General Information GENERAL SERVICING PRECAUTIONS 11. Before performing any inspections or maintenance work, disconnect the battery s ground cable to prevent any damage from shorted wires. 12. Always use the proper tool for the job. When a special tool is designated for a job, be sure to use only that special tool. 13. When replacement parts are required, consult the appropriate Isuzu parts catalog and use only Genuine Isuzu Parts. 14. Never reuse any cotter pins, gaskets, seals, o-ring, lock washers, or self-locking nuts removed in the course of disassembly. 15. To facilitate reassembly, lay out engine parts in logical groups in the order in which they are removed. Be especially careful to replace nuts and bolts in their proper locations, since characteristics such as length and hardness may differ depending on the installation position. 16. Use identification labels or tags to mark valves, bearings, and pistons, to prevent confusing their proper order and sequence. F06E100031 17. Clean all parts before inspection and reassembly. Be particularly sure to use compressed air to blow out oil ports and openings, to assure that they are free of obstructions. 18. Be sure to apply oil or grease as appropriate to all rotating and sliding surfaces before reassembly. 19. Use sealants to prevent leaks where necessary. 10. Tighten all nuts and bolts to specified tightening torques. 11. After completing inspections and repairs, double check your work to confirm that the job has been done properly. 2
General Information NOTES ON THE FORMAT OF THIS MANUAL 1. 2. Use the Table of Contents at the beginning of the Manual to find the general areas required. Common technical data such as general maintenance, repair specifications, and tightening torques are listed in the General Information chapter. Each chapter is composed of disassembly, inspection and repair, assembly sections. the only exception is the treatment of the engine body itself, which is divided into three independent chapters for ease of explanation. When similar maintenance procedures are applicable to multiple operations or parts, the manual will cross-reference the page where the appropriate information can be found. To provide brevity and conciseness, simple disassembly and repair operations are omitted, while more space is devoted to explaining complex procedures such as adjustments and tightening torques. The descriptions given in each chapter begin with an exploded diagram of the applicable parts, with numbers indicated as shown below. 3. 4. 5. 6. 1 3 4 2 5 This number indicates the sequence of the procedure. 7 6 8 10 9 13 Items enclosed in a frame are removed and installed as a single unit, and the order of disassembly and reassembly is indicated in the illustration. 14 11 Parts listed beneath Disassembly Steps or Assembly Steps are listed in the sequence in which they are removed or assembled. 12 F06E100035 Disassembly sequence 1. Cylinder head cover 2. Head cover gasket 3. Camshaft upper bracket L4. Camshaft L5. Rocker arm shaft assembly 6. Thermostat housing (with thermostat unit) L7. Cylinder head 8. Cylinder head gasket 9. Water pump pulley 10. Water pump L11.Crankshaft pulley (with damper) 12. Front cover L13.Flywheel 14. Flywheel housing The particularly important part or operation, and is accompanied instructions in the text. triangle mark indicates a L by detailed 3
General Information 7. The following is a sample of the text in the Workshop Manual. Measurement of cylinder Liner Projection 1. Place a straight edge 1 along the top edge of the cylinder liner to be measured. 2. Using a feeler gauge 2, measures the projection of each cylinder liner. 1 These tables indicate repair standards. Cylinder liner projection mm (in) Standard 2 0.106 ~ 0.134 (0.0042 ~ 0.0053) Special tools are identified by name and/or number. The illustration also indicates the proper procedure for using the special tool. The difference in cylinder liner projection between any two neighboring cylinders must not exceed 0.02 mm. 012E100011 Cylinder Liner Removal 1.Attach a cylinder liner remover to the cylinder liner. Cylinder liner remover : 1-85231-016-0 2. Confirm that the remover s shaft anchor is hooked firmly on the bottom of the cylinder liner. 3. Slowly rotate the remover s shaft handle clockwise to remove the cylinder liner. Note: Be careful not to damage the upper face of the cylinder block when removing cylinder liners. Symbols indicate the type of operation or sequence to be performed. A detailed explanation of these symbols is given below. 012E100012 Cylinder Block Bore Measurement 1. At measuring point 1, measure the cylinder block bore in the four directions (W-W, X-X, Y-Y, Z-Z). Measuring point 1: 120 mm from upper face. 2. Calculate the average value of the four measure- ments to determine the correct liner grade. 012EY00036 8. The following symbols appear throughout this Manual, indicating the type of service operation or procedure to be performed. .... Removal .... Adjustment .... Installation .... Cleaning .... Disassembly ... Important operation; special care required .... Assembly .... Tighten to specified torque .... Alignment (marks) .... Special tool use required (Isuzu Tools) .... Directional indication .... Use commercially available special tool .... Inspection .... Lubrication with engine oil .... Measurement .... Apply grease .... Apply sealant 4
General Information 9. Measurements are indicated by standard or limit ; a standard value refers to the standard values at time of assembly. A limit value is a maximum or minimum; measurements up to that value are usable. Measurements falling beyond that value mean the part must be serviced, adjusted, or replaced. 10. Directional indications adopted within this manual are as follows; Front: Toward the cooling fan when viewed from the flywheel side. Right: Toward the fuel injection pump when viewed from the flywheel side. Left: Toward the exhaust manifold when viewed from the flywheel side. Rear: Toward the engine s flywheel side. 11. Cylinder numbers and Engine rotation direction : Cylinder numbers are counted in sequence beginning form the front side of the engine. As a result, the first cylinder at the very front of the engine is cylinder No. 1, while the last cylinder toward the rear is cylinder No. 6. The direction of engine rotation is clockwise when viewed from the cooling fan side. Right Flywheel Rear Front Left Exhaust manifold Cooling fan F06E100032 12. ASM is an abbreviation for assembly. 5
General Information ABOUT ANGULAR TIGHTENING At present, the method most commonly used to tighten bolts is to specify a torque value to which the bolts should be tightened. This method, however, has the disadvantage of being characterized by considerable fluctuation in axial force for a given torque, with the result that when attempting to maintain the minimum necessary axial force, the bolt may be sheared at its upper limit value. In order to produce less fluctuation in axial force, the ideal method would be to tighten the bolt while measuring the amount of its stretch, but since this is impossible in practice, a substitute method was conceived, namely considering the relationship of thread pitch to bolt stretch. The angular tightening method thus focuses on the amount the bolt is turned directly related to thread pitch in order to allow tightening of the bolt up unto the region of plasticity, thus reducing the variation in axial force. TIGHTENING METHOD 1. 2. 3. Apply molybdenum disulfide grease to the threads and setting faces of the nuts and bolts. Tighten all bolts to the designated tightening torque values. Next, make a mark at a point corresponding to one edge of the bolt as shown in the accompanying illustration, then tighten the bolt by turning it by the designated angle. Afterwards, be sure to check the mark to confirm whether the bolt has been tightened to the specified angle. If this confirmation is not performed, and if the bolt is subsequently retightened using the angular tightening method, it may break. Note: 1. 2. Tighten bolts in their designated sequence. When using the angular tightening method, do not retighten. Before tightning After tightening Tighten A A B C D C D Designated tightening angle B E E F F F06E100033 F06E100034 Use a wrench to rotate the bolt until the line (A B) on the bolt is aligned with the designated angle line on the material (line E F). On the surface of the bolt and material to be tightened, draw a line extending through the center of the bolt (A B on the bolt, C D on the material), and a line on the material surface which is aligned with the center of the bolt at the designated tightening angle (line E F). LOCATIONS OF USE OF ANGULAR TIGHTENING METHOD 1. 2. 3. 4. 5. Cylinder head bolts (M14 bolts only) Lower crankcase bolts (M14 bolts only) Connecting rods, bearing cap nuts Flywheel bolts Idle gear shaft bolt (A) 6
General Information MAIN DATA AND SPECIFICATIONS Engine Model AA-6SD1T Item Engine type 4-cycle, water-cooled vertical in-line overhead camshaft Combustion chamber type Direct injection Cylinder liner type Dry type Number of cylinders; bore x stroke mm 6 120 x 145 Total exhaust displacement L (cid) 9.839 (601) Compression ratio 16.8 : 1 * * Dimensions (L x W x H) mm 1379 x 859 x 1158 Weight kg 693 Ignition sequence 1-5-3-6-2-4 Fuel used Diesel (2-D) Fuel-injection pump type In-line Bosch Governor Variable speed, mechanical, RSV type or electrically controlled type (Red IV) Injection nozzle type Multi-hole type MPa (kg/cm2/psi) * * Injection starting pressure 17.7 22.1 (180 225/2570 3200) Fuel injection timing (BTDC) 7 MPa (kg/cm2/psi) Compression pressure (warm engine, 200 rpm) 2.84 (29/412) Inlet valve Open (BTDC) 15 Close (ATDC) 39 Exhaust valve Open (BTDC) 40 Close (ATDC) 14 Valve clearance (cold engine) Inlet valve mm 0.4 Exhaust valve 0.4 Lubricating system Forced circulation type * * Engine oil capacity; Oil pan L (qts) Max 30 (31.7), Min 25 (26.4) Total system capacity L (qts) Max 35 (37), Min 30 (31.7) Lubricating engine oil API service type CD, or Isuzu Besco S-3 Oil cooler Water-cooled, internally mounted Cooling method Forced circulation, pressurized water-cooled type Cooling system volume L (qts) About 19 (20) (engine only) * * * Cooling fan Dia. 850 mm, 6-blade, sucker type Alternator V A 24 50 Starter V kW 24 5.5 Specifications marked with an asterisk (*) will vary according to engine application. 7
General Information Engine details may vary depending on the specifications. Crank pulley Timing check hole cover Fan pulley Note: Water drain plug Starter motor Exhaust manifold Partial oil filter Cylinder head cover Fan guide Oil drain plug Alternator Oil dipstick Oil pan Oil cooler Main oil filter Fuel filter Injection pump Nozzle holder Coupling ASM Oil filter cap Flywheel housing Flywheel Turbocharger EXTERNAL VIEW MODEL AA-6SD1T Intake cover F06E100012 8
General Information TIGHTENING TORQUE SPECIFICATIONS The tightening torque values given in the table below are applicable to the bolts unless otherwise specified. STANDARD BOLT kgf m (lb.ft/N m) Bolt Identification Bolt Diameter pitch (mm) M6 1.0 4 8 (0.4 0.8/3 6) 5 10 (0.5 1.0/4 7) M8 1.25 12 23 (1.2 2.3/9 17) 17 30 (1.7 3.1/12 22) 8 18 (0.8 1.8/6 13) M10 1.25 28 46 (2.8 4.7/20 33) 37 62 (3.8 6.4/28 46) 21 34 (2.1 3.5/5 25) M10 1.5 28 45 (2.8 4.6/20 33) 36 60 (3.7 6.1/27 44) * 20 33 (2.0 3.4/15 25) M12 1.25 61 91 (6.2 9.3/45 67) 76 114 (7.7 11.6/56 84) 49 74 (5.0 7.5/36 54) M12 1.75 57 84 (5.8 8.6/42 62) 72 107 (7.3 10.9/53 79) * 45 69 (4.6 7.0/33 51) M14 1.5 93 139 (9.5 14.2/69 103) 114 171 (11.6 17.4/84 126) 77 115 (7.8 11.7/56 85) M14 2.0 88 131 (9.0 13.4/65 97) 107 160 (10.9 16.3/79 118) * 72 107 (7.3 10.9/53 79) M16 1.5 135 204 (13.8 20.8/100 150) 160 240 (16.3 24.5/118 177) 104 157 (10.6 16.0/77 116) M16 2.0 129 194 (13.2 19.8/96 143) 153 230 (15.6 23.4/113 169) * 100 149 (10.2 15.2/74 110) M18 1.5 195 293 (19.9 29.9/144 216) 230 345 (23.4 35.2/169 255) 151 226 (15.4 23.0/110 166) M18 2.5 196 294 (20.0 30.0/145 217) 231 346 (23.6 35.5/171 255) * 151 226 (15.4 23.0/110 166) M20 1.5 270 405 (27.5 41.3/199 299) 317 476 (32.3 48.5/234 351) 206 310 (21.0 31.6/152 229) M20 2.5 249 375 (25.4 38.2/184 276) 293 440 (29.9 44.9/216 325) * 190 286 (19.4 29.2/140 211) M22 1.5 363 544 (37.0 55.5/268 401) 425 637 (43.3 64.9/313 469) 251 414 (25.6 42.2/185 305) M22 2.5 338 507 (34.5 51.7/250 374) 394 592 (40.2 60.4/291 437) * 218 328 (22.2 23.4/161 242) M24 2.0 431 711 (43.9 72.5/318 524) 554 831 (56.5 84.7/409 613) 359 540 (36.6 55.0/265 398) M24 3.0 406 608 (41.4 62.0/299 448) 521 782 (53.1 79.7/384 576) * 338 507 (34.5 51.7/250 374) An asterisk (*) indicates that the bolts are used for female threaded parts that are made of soft materials such as casting. Those shown in parentheses in the strength class indicate the classification by the old standard. 9
General Information FLANGED HEAD BOLT kgf m (lb.ft/N m) Bolt Identification Bolt Diameter pitch (mm) M6 1.0 5 9 (0.5 0.9/4 7) 6 12 (0.6 1.2/4 9) M8 1.25 11 20 (1.1 2.0/8 15) 15 28 (1.6 2.9/12 21) 18 34 (2.1 3.4/15 25) M10 1.25 23 39 (2.4 3.9/17 28) 35 59 (3.6 6.1/26 44) 42 71 (4.3 7.2/31 52) M10 1.5 * 22 37 (2.3 3.8/17 28) 35 58 (3.5 5.8/25 42) 40 67 (4.1 6.8/30 49) M12 1.25 55 82 (5.6 8.4/40 61) 77 117 (7.9 11.9/57 86) 85 128 (8.7 13.0/63 94) M12 1.75 * 51 77 (5.2 7.8/38 56) 71 107 (7.3 10.9/53 79) 80 119 (8.1 12.2/59 88) M14 1.5 83 125 (8.5 12.7/62 92) 115 172 (11.7 17.6/85 127) 123 185 (12.6 18.9/91 137) M14 2.0 * 77 116 (7.9 11.8/57 85) 108 162 (11.1 16.6/80 120) 116 173 (11.8 17.7/85 128) M16 1.5 116 173 (11.8 17.7/85 128) 171 257 (17.4 26.2/126 190) 177 265 (18.0 17.1/130 196) M16 2.0 * 109 164 (11.2 16.7/81 121) 163 244 (16.6 24.9/120 180) 169 253 (17.2 25.8/124 187) A bolt with an asterisk (*) is used for female screws of soft material such as cast iron. 10
General Information TIGHTENING TORQUES FOR MAIN PARTS Cylinder head cover, cylinder head, camshaft bracket, rocker arm shaft bracket N m (kgf m/lb ft) 2.9~6.9(0.3~0.7/2.2~5.1) 114~171(11.6~17.4/84~126) 20~24(2.0~2.4/14~17) Apply engine oil 14~24(1.4~2.4/10~17) 15~25(1.5~2.5/11~18) M14 bolt 98.0(10)/72 142~152(14.5~15.5/105~112) 30 ~60 Apply molybdenum disulfide grease M10 bolt 31~45(3.2~4.6/23~33) Apply engine oil 18~26(1.8~2.7/13~20) 5 3 6 4 8 A 01/04/13 F06E100027 11
General Information Lower crankcase, connecting rod bearing caps, crank damper pulley, flywheel, oil pan N m (kgf m/lb ft) 1 74~83(7.5~8.5/54~61) 60 30 ~60 Apply molybdenum disulfide grease 2 1 2 Nut 37~41(3.8~4.2/27~30) Nut 60 Nut 120 Nut 60 1 2 1 Apply molybdenum disulfide grease Tighten nuts and alternately 1 2 86~106(8.8~10.8/64~78) Apply engine oil 16~26(1.6~2.6/12~19) 160~240(16.3~24.5/118~177) Apply engine oil M10 bolt 31~45(3.2~4.6/23~33) Apply engine oil M14 bolt 98.0(10)/72 142~152(14.5~15.5/105~112) 30 ~60 Apply molybdenum disulfide grease 20~29(2.0~3.0/14~22) 69~88(7.0~9.0/51~65) F06E100051 12
General Information Front cover, flywheel housing, idler gear N m (kgf m/lb ft) 14~24(1.4~2.4/10~17) 20~29(2.0~3.0/14~22) 34~46(3.5~4.7/25~34) 76~116(7.8~11.8/56~85) 68~83(6.9~8.5/50~61) 68~83(6.9~8.5/50~61) Idler gear shaft A fixing 20~29(2.0~3.0/14~22) 32~36(3.3~3.7/24~27) 60 ~90 Apply molybdenum disulfide grease 5 3 6 4 8 A 01/06/13 175 230 F06E100065 13
Suggest: If the above button click is invalid. Please download this document first, and then click the above link to download the complete manual. Thank you so much for reading
General Information Intake manifold, exhaust manifold, turbocharger N m (kgf m/lb ft) 25~30(2.5~3.1/18~22) 34~46(3.5~4.7/25~34) 36~46(3.7~4.7/27~34) 14~24(1.4~2.4/10~17) F06E100024 14
General Information Cooling system N m (kgf m/lb ft) 14~24(1.4~2.4/10~17) 14~24(1.4~2.4/10~17) M8 bolt 14~24(1.4~2.4/10~17) M10 bolt 31~45(3.2~4.6/23~33) (PULLEY FIX) 44~60(4.5~6.1/33~44) (FAN FIX) 44~60(4.5~6.1/33~44) 5 3 6 4 8 A 01/04/16 175 230 F06E100029 15
https://www.ebooklibonline.com Hello dear friend! Thank you very much for reading. Enter the link into your browser. The full manual is available for immediate download. https://www.ebooklibonline.com

