JCB AMS JS Machines Service Repair Manual Instant Download
Please open the website below to get the complete manualnn//
Download Presentation

Please find below an Image/Link to download the presentation.
The content on the website is provided AS IS for your information and personal use only. It may not be sold, licensed, or shared on other websites without obtaining consent from the author. Download presentation by click this link. If you encounter any issues during the download, it is possible that the publisher has removed the file from their server.
E N D
Presentation Transcript
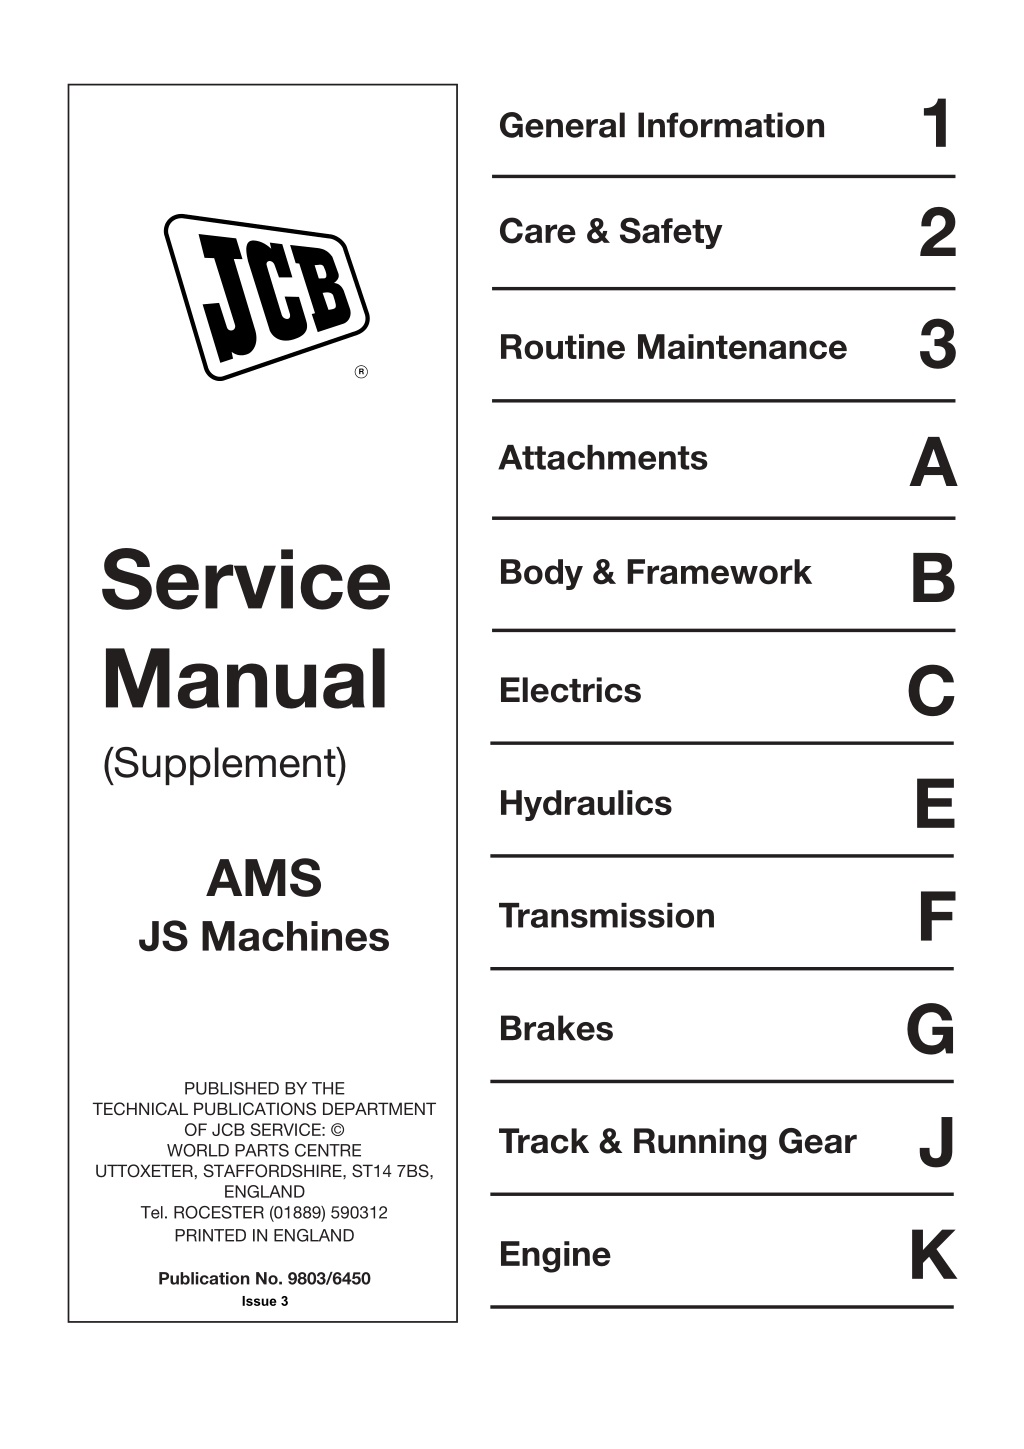
1 2 3 General Information Care & Safety Routine Maintenance R A B C E F G J K Attachments Service Manual (Supplement) Body & Framework Electrics Hydraulics AMS Transmission JS Machines Brakes PUBLISHED BY THE TECHNICAL PUBLICATIONS DEPARTMENT OF JCB SERVICE: WORLD PARTS CENTRE UTTOXETER, STAFFORDSHIRE, ST14 7BS, ENGLAND Tel. ROCESTER (01889) 590312 PRINTED IN ENGLAND Track & Running Gear Engine Publication No. 9803/6450 Issue 3
General Information Section 1 Section 1 i i Contents Page No. Introduction Care and Safety 1 - 1 9803/3642E Issue 2*
Section 1 Section 1 General Information Introduction 1 - 1 1 - 1 The JCB A.M.S system (Advanced Management System) is a whole machine electronic control system which replaces the CAPS II system. The system controls engine speed, pump power, transmission, excavator functions, lights, wiper, auxiliary circuits, warning lamps, etc. This manual is a supplement to the following JS XO Machine Service Manuals: Manual No. 9803/6410 Machine No. JS 130 JS 160 Serial No. 9803/6310 JS 130W JS 145W JS 160W JS 175W 9803/6400 JS 200 JS 220 JS 240 JS 260 9803/6320 JS 200W A296531 9803/6420 JS 330 JS 450 JS 460 Tracked Machine Note: Only those areas of the machines which are different from the standard version are dealt with here. For all other aspects refer to the above manuals. Care and Safety Before carrying out any maintenance procedures on this machine, make sure you read the Care and Safety information in Section 2 of the above Service Manuals . The relevant information in that Section should be observed as well as any care and safety information contained in this manual. A335431 Wheeled Machine 9803/6450 Issue 2*
https://www.ebooklibonline.com Hello dear friend! Thank you very much for reading. Enter the link into your browser. The full manual is available for immediate download. https://www.ebooklibonline.com
Section C Section C Electrics Schematic Diagram 1 - 9 1 - 9 JS130 - JS260 Connection for optional hydraulic circuits (331/18657) 81 80 8 7 3 1 2 6 4 5 14 3 13 11 16 6 12 15 9 10 79 82 83 NO CONNECTION C160 C160 C160 C160 8 7 6 5 4 3 2 1 8 7 6 5 4 3 2 1 8 7 6 5 4 3 2 1 8 7 6 5 4 3 2 1 HAMMER/ AUXILLARY COMBINED & MERGED PUMP HAMMER/ AUXILLARY COMBINED AUXILLARY ONLY BREAKER ONLY JS330 Connection for optional hydraulic circuits (331/18659) 81 80 8 7 3 1 2 6 4 5 9 10 3 14 11 13 16 6 12 15 79 84 82 NO CONNECTION C160 C160 C160 C160 8 7 6 5 4 3 2 1 8 7 6 5 4 3 2 1 8 7 6 5 4 3 2 1 8 7 6 5 4 3 2 1 HAMMER/ AUXILLARY COMBINED HAMMER/ AUXILLARY COMBINED & MERGED PUMP AUXILLARY ONLY BREAKER ONLY JS 200W Connection for optional hydraulic circuits (331/18660) 81 80 80 10 8 7 3 1 2 6 4 5 8 7 3 1 2 6 4 5 14 3 11 13 16 6 12 15 9 84 82 83 NO CONNECTION C160 C160 C160 C160 8 7 6 5 4 3 2 1 8 7 6 5 4 3 2 1 8 7 6 5 4 3 2 1 8 7 6 5 4 3 2 1 JS330 HAMMER/ AUXILLARY COMBINED & MERGED PUMP BREAKER ONLY MONOBOOM HAMMER/AUXILLIARY MONOBOOM HAMMER TAB 9803/6450 Issue 1*
Section C Section C Electrics Cab Layout 2 - 1 2 - 1 Location of Controls and Components - JS Tracked machine 3 3 5 5 4 4 6 6 ! ! @ @ 2 2 7 7 8 8 9 9 1 1 0 0 8 Control Lock Lever 1 Right Console 9 Left Console 2 Right Excavator Joystick Control 10 Door Lock Release Lever 3 Display Monitor 11 Optional Circuit Pedal (if fitted) 4 Right Hand Track Control 12 Facia Panel 5 Left Hand Track Control 13 Lightswitch Panel 6 Travel Speed Range Change Switch 7 Left Excavator Joystick Control 9803/6450 Issue 1
Section C Section C Electrics Cab Layout 2 - 2 2 - 2 *Location of Controls and Components - JS130W/145W/160W/175W 4 ! 6 2 8 ( % & * ^ 5 0 3 7 9 $ 1 @ A335431 1 Left Excavator Joystick Control Slew and dipper. 11 Display Monitor 12 Left Console 2 Horn Button 13 Right Console Alternative Horn Button (Not Germany) 3 14 Travel Pedal 4 Steering Wheel 15 TAB Position Ram Pedal (if fitted) 5 Steering Column Lock Latch 16 Rockbreaker ON/OFF Switch (if fitted) 6 Multipurpose Steering Column Switch 17 Auxiliary Circuit Switch 7 Foot Brake Pedal 18 Dozer Blade Switch 8 Gearbox Ratio Change Switch 19 Right Switch Panel 9 Right Excavator Joystick Control Boom and bucket. 10 One Touch Idle Switch 9803/6450 Issue 2*
Section C Section C Electrics Cab Layout 2 - 3 2 - 3 Location of Controls and Components - JS200W 4 ! 6 2 8 ( % & * 5 ^ 7$ 0 3 9 1 @ 1 Left Excavator Joystick Control Slew and dipper. 11 Display Monitor 12 Left Console 2 Horn Button 13 Right Console Alternative Horn Button (Not Germany) 3 14 Travel Pedal 4 Steering Wheel 15 TAB Position Ram Pedal (if fitted) 5 Steering Column Lock Latch 15 Rockbreaker ON/OFF Switch (if fitted) 6 Multipurpose Steering Column Switch 16 Boom Priority Switch 7 Foot Brake Pedal 17 Auxiliary Circuit Switch 8 Gearbox Ratio Change Switch 18 Dozer Blade Switch 9 Right Excavator Joystick Control Boom and bucket. 19 Right Switch Panel 10 One Touch Idle Switch 9803/6450 Issue 1
Section C Section C Electrics Cab Layout 2 - 4 2 - 4 Right Console - Tracked machine only 1 1 START ON OFF HEAT 6 6 5 5 7 7 2 2 3 3 4 4 A335442 2 Throttle Dial 1 Starter Switch This rotary control provides progressive engine speed control over the full range. Note: If the engine speed does not change even after turning the throttle dial it is because the idle switch (6) is ON. Push the idle switch to OFF to re activate the throttle dial. This key operated rotary switch has four positions. The key can only be inserted or removed in the OFF position. The positions are: OFF - Isolates all electrics. Turning key to this position stops the engine and, if appropriate, silences the warning buzzer. If the engine is started with the throttle dial not at the minimum position, no engine speed control will be possible until after the dial has been turned to the minimum position. HEAT: For pre-heating the engine air intake during cold weather, key must be held in this position. Returns to OFF when key is released. 3 Hammer switch (if fitted) ON - Switch position for normal running. Press the switch to change the additional hydraulic circuit from hammer (reduced flow) circuit to auxiliary (full flow) circuit. START: Key held in this position cranks the starter motor for starting the engine. Release the key when the engine starts and the switch returns to ON. 9803/6450 Issue 1
Section C Section C Electrics Cab Layout 2 - 5 2 - 5 Right Console - Tracked machine only (cont'd) 4 Boom Priority Switch-if fitted (Standard on JS330) 6 One Touch Idle Switch Pressing this switch instantly changes the engine rpm back and forth between that selected for working and a low idling speed. When low idling has been selected the message LOW IDLE is displayed on the Display Monitor. This facility is overridden when the Manual/Auto Change switch is set to Auto . Press the switch to change priority of boom raise to swing. Selecting the boom priority switch during simultaneous slew and boom operation will restrict flow to the slew motor and therefore give more flow to the boom up operation. When the switch is pressed the monitor will display BOOM PRIOR acknowledgement message. 7 Auxiliary Circuit Switch This three-position rocker switch, spring loaded to the central OFF position, provides bi-directional flow for relevant attachments, e.g. weedcutter, grab rotate. Press and hold the switch to the right or left, as appropriate, for as long as the attachment is to be used. Release the switch to turn off the attachment. 5 Power-up Button With the Work Mode Selection switch in H or S mode, depression of the button initiates the application of maximum digging power for a period of 8 seconds, during which time the POWER UP message is displayed on the Display Monitor. Lightswitch Panel Work Light Switch Press the switch A to the first position to switch ON the Standard work lights (on boom and the right hand of the machine). Press the switch to the second position to switch ON the optional lights (on the cab and the counterweight - if fitted). 0 1 2 3 B B A350860 Heater Fan Turn rotary switch B (on the lightswitch panel) clockwise to turn on the heater fan. The volume of air from the heater increases by rotating the switch clockwise to the next position. A A 9803/6450 Issue 1
Section C Section C Electrics Cab Layout 2 - 6 2 - 6 Right Console - Wheeled machine only 1 1 START ON OFF HEAT 8 8 7 7 9 9 2 2 5 5 6 6 4 4 3 3 A335441a 2 Throttle Dial 1 Starter Switch This rotary control provides progressive engine speed control over the full range. Note: If the engine speed does not change even after turning the throttle dial it is because the idle switch (8) is ON. Push the idle switch to OFF to re activate the throttle dial. This key operated rotary switch has four positions. The key can only be inserted or removed in the OFF position. The positions are: OFF - Isolates all electrics except side lights and hazard lights. If the engine is started with the throttle dial not at the minimum position, no engine speed control will be possible until after the dial has been turned to the minimum position. Turning key to this position stops the engine and, if appropriate, silences the warning buzzer. HEAT: For pre-heating of the engine air intake during cold weather, key must be held in this position. Returns to OFF when key is released. 3 Hazard Warning Switch Press the switch to switch ON the hazard warning lights. Hazard warning lights can be turned ON with or without the ignition ON. ON - Switch position for normal running. START: Key held in this position cranks the starter motor for starting the engine. Release the key when the engine starts and the switch returns to ON. 4 Fog Light Switch Press the switch to switch ON the fog lights (Headlights must be ON). 9803/6450 Issue 1
Section C Section C Electrics Cab Layout 2 - 7 2 - 7 Right Console (cont'd) A 5 Rockbreaker switch (if fitted JS200W only) For monoboom equipped machines: A The switch has two positions, press the switch to change the additional hydraulic circuit from rockbreaker (reduced flow) circuit, position 1 to auxiliary full flow position 2. For triple articulating boom equipped machines: A When a rockbreaker circuit only is fitted, the switch has two positions. Press the switch to change the function of the foot pedal from rockbreaker, position 1 to boom position control, position 2. R R 1 B When combined rockbreaker and auxiliary circuits are fitted, the switch has three positions. Press the switch to change the function of the foot pedal from rockbreaker (reduced flow) circuit, position 1 to auxiliary (full flow) circuit position 2. Press further to change to boom position control circuit position 3. 2 B 6 Boom Priority Switch (JS 200W only) Press the switch to change priority of boom raise to swing. Selecting the boom priority switch during simultaneous slew and boom operation will restrict flow to the slew motor and therefore give more flow to the boom up operation. When the switch is pressed the monitor will display BOOM PRIOR acknowledgement message. R R 7 Power-up Button A350950 1 2 With the Work Mode Selection switch in H or S mode, depression of the button initiates the application of maximum digging power for a period of 8 seconds, during which time the POWER UP message is displayed on the Display Monitor. 3 8 One Touch Idle Switch Pressing this switch instantly changes the engine rpm back and forth between that selected for working and a low idling speed. When low idling has been selected the message LOW IDLE is displayed on the Display Monitor. This facility is overridden when the Manual/Auto Change switch is set to Auto . 9 Auxiliary Circuit Switch This three-position rocker switch, spring loaded to the central OFF position, provides bi-directional flow for relevant attachments, e.g. weedcutter, grab rotate. Press and hold the switch to the right or left, as appropriate, for as long as the attachment is to be used. Release the switch to turn off the attachment. 9803/6450 Issue 1
Section 2 Section 2 Electrics Cab Layout 2 - 8 2 - 8 Lightswitch Panel Drive Light Switch 0 1 A A Press switch C to the first position to switch ON the side lights. The side lights can be turned ON with or without the ignition being switched ON. Press the switch to the second position to switch ON the headlights (the ignition must be ON). 2 3 Work light Switch Press switch B to the first position to switch ON the Standard work lights (on boom and the right hand of the machine). Press the switch to the second position to switch ON the optional lights (on the cab and the counterweight - if fitted). B B C C The side lights must be ON in order to turn ON the work lights. A350870 Heater Fan Turn rotary switch A clockwise to turn on the heater fan. The volume of air from the heater increases by rotating the switch clockwise to the next position. 9803/6450 Issue 1
Section C Section C Electrics Cab Layout 2 - 9 2 - 9 Left Console - Tracked machines only 3 3 1 1 A335460 2 2 1 Horn Switch 3 Boom Priority Switch (Option) When the horn switch is pressed the horn will sound. Press and hold the switch to change priority of slew to boom raise. Release the switch to deselect boom priority. Note: always press the switch and sound the horn to give signals, when the machine is started or you engage travel or slew. 2 2 2 Control Lock Lever Raising the lever provides a method of isolating the hydraulic controls in addition to raising the Left Console or operating the Servo Isolator Switch and is an integral part of the procedure for vacating the cab. Lower the lever to activate the hydraulic controls. A296830 9803/6450 Issue 1
Section C Section C Electrics Cab Layout 2 - 10 2 - 10 Left Console - Wheeled machines only 2 2 3 3 1 1 4 4 A335460 5 5 1 Console Tilt Handle 4 Horn Switch Turn the tilt handle anti-clockwise to unlock the console which can then be hinged up and down. Raising the console provides a method of isolating the hydraulic controls (in addition to operating the Servo Isolator Switch (on the facia panel) or raising the Control Lock Lever (step 5)) and is an integral part of the procedure for vacating the cab. Release the handle and lower the console to the operating position where it locks. When the horn switch is pressed the horn will sound. Note: always press the switch and sound the horn to give signals, when the machine is started or you engage travel or slew. 5 Control Lock Lever Raising the lever provides a method of isolating the hydraulic controls (in addition to raising the Left Console (step 1) or operating the Servo Isolator Switch (step 2)) and is an integral part of the procedure for vacating the cab. Lower the lever to activate the hydraulic controls. Note: For JS200W and German and Italian JS130W/160W machines - When the console is in the raised position, all controls except travel are isolated. When travelling on roads,raise the left console to prevent the accidental movement of the excavator end. 2 Left Console Switch Panel 5 5 3 Dozer Switch This switch transfers Left Excavator Joystick controls from the slew and dipper to the dozer blade and vice- versa. Press the left side of the switch to select dozer and illuminate the Dozer Selected lamp (see Warning Light Panel, Monitor Panel); press the right side to revert to slew and dipper. When dozer is selected, push the joystick forward to lower the dozer and pull it back to raise the dozer. Release the joystick to stop dozer movement. A296830 9803/6450 Issue 1
Section C Section C Electrics Cab Layout 2 - 11 2 - 11 Left Console Switch Panel Wheeled machines only 1 Left hand stabilizer down When pressed the left hand stabilizer will lower, the indicator light next to the switch will illuminate only when the switch is pressed. 1 1 2 2 2 Right hand stabilizer down When pressed the right hand stabilizer will lower, the indicator light next to the switch will illuminate only when the switch is pressed. 3 3 4 4 3 Left hand stabilizer up When pressed the left hand stabilizer will raise, the indicator light next to the switch will illuminate only when the switch is pressed. 4 Right hand stabilizer up 6 6 5 5 When pressed the right hand stabilizer will raise, the indicator light next to the switch will illuminate only when the switch is pressed. 5 Cushion The soft mode is automatically ON when starting the machine. Press to change to hard mode. The monitor will display HARD MODE acknowledgement message. A335150 This switch selects or deselects the cushioned mode of operation of the boom raise/lower rams and the dipper in/out rams. In the cushioned mode the hydraulic system is protected from the potentially harmful effects of suddenly stopping any of the rams with a heavily loaded bucket or other attachment. For lighter work it may be desirable to operate in the non- cushioned mode. At engine start-up, the cushioned mode is automatically selected, with the switch lamp off. Press the button to select the non-cushioned mode and light the switch lamp. Press again to select the cushioned mode. 6 Isolator Press to isolate the servo system. The monitor will display ISOLATOR acknowledgement message. When pressed the controls are isolated and no machine operation is possible. 9803/6450 Issue 1
Section C Section C Electrics Cab Layout 2 - 12 2 - 12 Multi-Purpose Steering Column Switch (Wheeled Machines only) 2 5 5 Direction Indicators (Right) 1 Pull the lever towards you to indicate a right turn. Switch the indicators off when you have completed the turn. Functions only with the starter switch at ON. (Cancels automatically when steering wheel centres.) 4 4 3 Direction Indicators (Left) 2 6 Push the lever away from you to indicate a left turn. Switch the indicators off when you have completed the turn. Functions only with the starter switch at ON. (Cancels automatically when steering wheel centres.) 1 . JS04020 3 Windscreen Wiper Rotate the three position lever barrel switch to operate the windscreen wipers. Fully anti-clockwise is OFF, the middle position is INTERMITTENT wipe, and the fully clockwise position is CONTINUOUS wipe. The wipers will self-park when switched off. Functions only with the starter switch at ON. 4 Windscreen Washer Push the sleeve towards the steering wheel to operate the windscreen washer. Functions only with the starter switch at ON. 5 Main Beam Lift the lever to switch on the main beam. Lift the lever once more to reselect dipped beam. Functions only with sidelights and headlights selected to ON. Note: Lifting the lever with main beam switched off will flash the main beam. 6 Horn Press to sound the horn. Functions only with the starter switch at ON. 9803/6450 Issue 1
Section C Section C Electrics Cab Layout 2 - 13 2 - 13 Monitor Panel 1 Display Panel The EMS instrument panel is located at the front right hand side of the cab. It provides information from the machine. The LCD has 20 segment bar graph gauges for fuel, hydraulic and water temperatures, a clock, gear, power, mode and hours run meter. The panel also has an eleven character message area. POWER MODE 1 1 2 Mode Switch Press to select working mode. The machine will be in the same mode as when last switched off. Each press cycles through the modes as follows: S ? ? H ? ? L ? ? F ? ? S (The applied mode is indicated next to the POWER MODE message.) Select the appropriate work mode suitable for the work to be carried out: 2 2 4 4 3 3 5 5 6 6 H - HEAVY MODE for heavy digging or increased work output. S - STANDARD MODE for general digging and loading work. 7 7 L - LIGHT MODE for precise or light duty work F - FINE MODE for operations requiring maximum accuracy, including lifting, with extra hydraulic pressure available when required. A335120 Indicates that machine hours are displayed top left of the display. This symbol flashes when the machine is operating, this signifies that the hour meter is increasing the service time. 3 Set Switch Press the SET switch to access the monitor menu. The menu can be scrolled through using the Scroll Up and Scroll Down switches. Indicates the time at the top right of the display. 4 Scroll Up Switch 5 Scroll Down Switch 6 ACK Switch Press to acknowledge warnings shown on the display. This will clear the message but will not put out warning lamps. The ACK Switch can cancel the warning buzzer when sounding. Indicates that transmission information is displayed top centre of the display. 7 Warning lamps Eighteen tell tale warning light indicators are included on the monitor. ! CAUTION All the warning lights should go out within 10 seconds of the engine being started. Rectify any faults immediately. 0009 9803/6450 Issue 1
Section C Section C Electrics Cab Layout 2 - 14 2 - 14 Monitor Panel (cont d) Warning Lights Slew Lock ON Illuminates when the machine slew lock is engaged. Press the slew lock switch to disengage the slew lock. High Engine Coolant Temperature Illuminates if the engine coolant temperature rises to high. Stop the engine and rectify the problem before further use. Servo Isolator ON Illuminates when the machines servo isolator is engaged. Lower the lock lever or press the isolator switch to disengage the isolator. Low Engine Oil Pressure Illuminates if the engine oil pressure drops too far. The light should go out when the engine is started. If illuminated, stop engine, check oil leve, top up as necessary and inspect for leaks. Engine Air Filter Blocked Illuminates if the engine air filter is blocked. Replace the element. Charging System Fault Illuminates when the battery voltage is low. If Illuminated check electrical charging circuit. Low Hydraulic Oil Level (Option) Indicates low oil in the hydraulic tank. Check oil level. Direction Indicator (Wheeled machine only) Flashes with the direction indicators. (Auto flashes when Hazard Warning Lights are on). Use the indicators to signal before turning. Service Required This warning is illuminated when a service is required. The warning flashes when a minor service is required (250 hours) and can be cancelled by pressing the ACK switch on the monitor. The warning will illuminate continuously when a major service is required (500 hours). If lit continuously, contact your JCB dealer. Hazard Warning Lamps Indicator (Wheeled machine only) Flashes with the hazard warning lights (even with the starter switch OFF). Low Air Pressure Only used on JS 330 and JS 460 machines. Illuminates if the air pressure is low. Check the air pressure. * Main Beam Indicator (Wheeled machine only) Illuminates when the headlight main beams are switched on. High Hydraulic Oil Temperature Illuminates if the hydraulic fluid temperature rises too high. Stop the engine and rectify the problem before further use Dozer Mode Indicator (Wheeled machine only) Illuminates when the machine has the dozer selected. Low Coolant Level Illuminates if the engine coolant level drops too low. Inspect and refill coolant. Low Brake Pressure (Wheeled machine only) Illuminates when the brake circuit pressure falls below the pre-determined minimum permissible. Engine Oil Filter Blocked Illuminates if the engine oil filter is blocked. Replace the engine filter (change engine oil when replacing the filter). Emergency Steer Mode (Wheeled machine only) Illuminates to indicate that the power steering pressure has failed. Steering is still possible although much greater effort is required. 9803/6450 Issue 2*
Suggest: If the above button click is invalid. Please download this document first, and then click the above link to download the complete manual. Thank you so much for reading
Section C Section C Electrics Cab Layout 2 - 15 2 - 15 Monitor Panel (cont d) Set Switch Press set switch to access the monitor menu. This allows the operator to change the settings of some of the machine s functions. The menu can be scrolled through using the scroll up and scroll down switches. Set clock - Use to adjust the displayed time. CLOCK ACK 12/24? ACK 12:10 ACK Use scroll keys to change 12h or 24h clock Use scroll keys to change time Auto idle time - Used to adjust the time delay for the automatic idle system. AUTO IDLE T ACK 5 Use scroll keys to change time delay (in seconds) ACK Language - Used to change the language of the display messages. Intermittent wiper speed - Used to adjust the time delay for the intermittent wiper. INT WIPER S ACK WIPER SPD -1 Use scroll keys to change speed ACK Engine speed for hammer - Used to set the maximum engine speed, when using a hammer. When using a hammer it may be necessary to limit the engine speed - consult your JCB Dealer. HAMMER RPM ACK RPM 1200 Use scroll keys to change rpm Hammer hours - Used to view the total cumulative hours the hammer has been used, also used to reset the hour count since the last hammer service. HAMMER HRS ACK 12345 (Total amount of hours hammer used) ACK RESET HRS? ACK 1234 (Hours since last hammer service) Resets the hour count since the last hammer service Date - Used to adjust to date DATE ACK 02-10-1999 ACK SET Use scroll keys to change date Return to normal display Scrap Magnet - Used to set the Minimum engine speed for scrap magnet. The minimum engine idling speed can be adjusted using this option. When using a scrap magnet attachment it may be necessary to increase the engine idle speed to ensure sufficient electric power to the attachment - consult your JCB Dealer. SCRAP MAG ACK SCRP MG OFF ACK RPM 1000 ACK Use the scroll keys to change between ON & OFF Use the scroll keys to change RPM 9803/6450 Issue 1
https://www.ebooklibonline.com Hello dear friend! Thank you very much for reading. Enter the link into your browser. The full manual is available for immediate download. https://www.ebooklibonline.com


