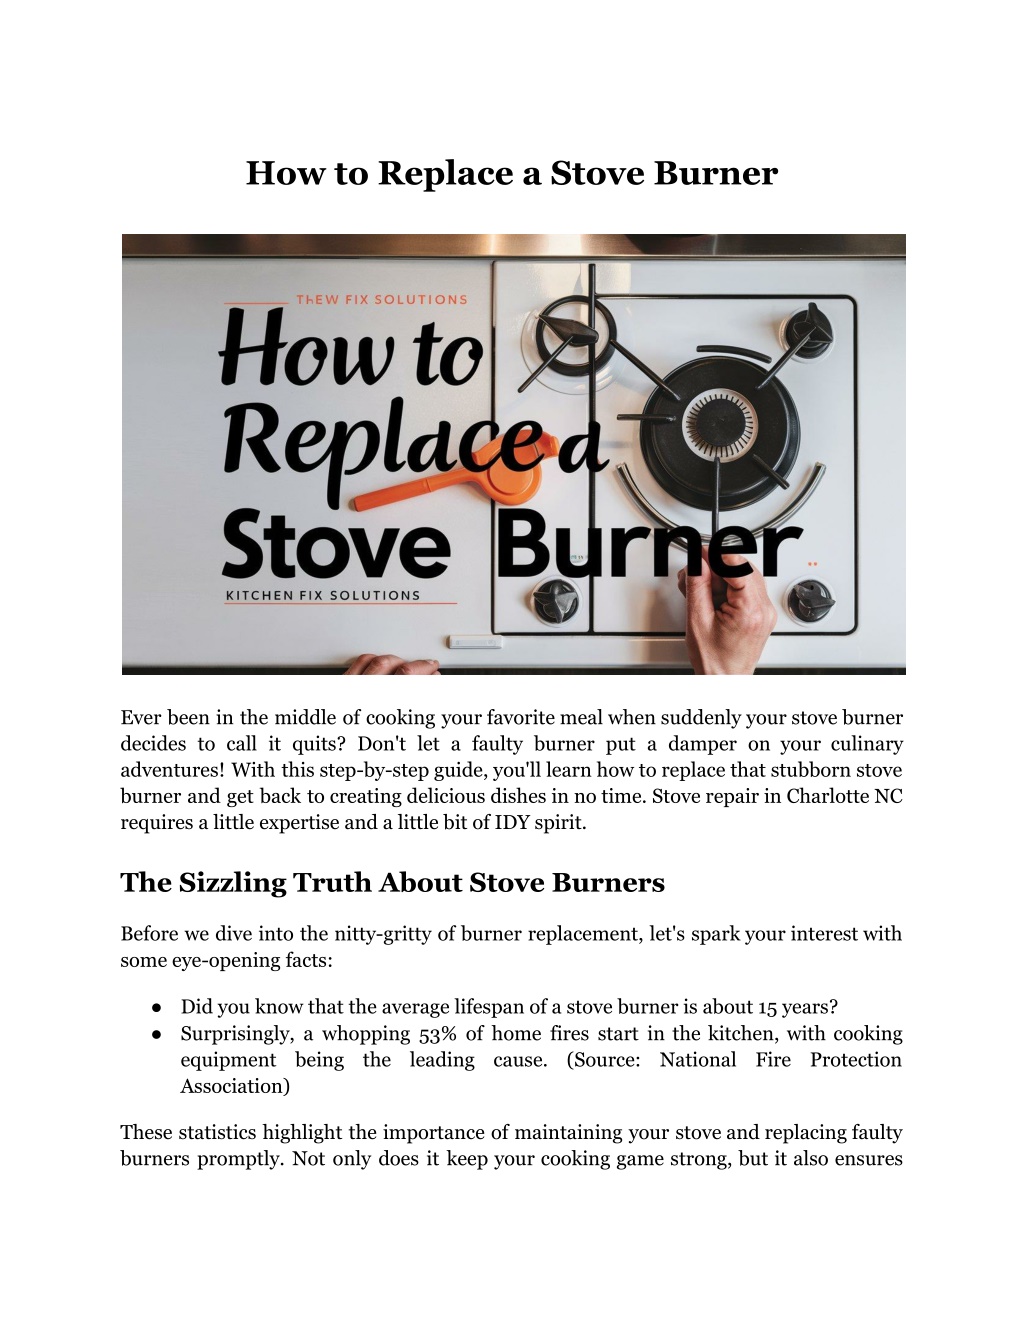
How to Replace a Stove Burner?
Learn how to replace a stove burner easily with this practical guide. Get your stove working like new again!
Download Presentation

Please find below an Image/Link to download the presentation.
The content on the website is provided AS IS for your information and personal use only. It may not be sold, licensed, or shared on other websites without obtaining consent from the author. If you encounter any issues during the download, it is possible that the publisher has removed the file from their server.
You are allowed to download the files provided on this website for personal or commercial use, subject to the condition that they are used lawfully. All files are the property of their respective owners.
The content on the website is provided AS IS for your information and personal use only. It may not be sold, licensed, or shared on other websites without obtaining consent from the author.
E N D
Presentation Transcript
How to Replace a Stove Burner Ever been in the middle of cooking your favorite meal when suddenly your stove burner decides to call it quits? Don't let a faulty burner put a damper on your culinary adventures! With this step-by-step guide, you'll learn how to replace that stubborn stove burner and get back to creating delicious dishes in no time. Stove repair in Charlotte NC requires a little expertise and a little bit of IDY spirit. The Sizzling Truth About Stove Burners Before we dive into the nitty-gritty of burner replacement, let's spark your interest with some eye-opening facts: Did you know that the average lifespan of a stove burner is about 15 years? Surprisingly, a whopping 53% of home fires start in the kitchen, with cooking equipment being the leading cause. Association) (Source: National Fire Protection These statistics highlight the importance of maintaining your stove and replacing faulty burners promptly. Not only does it keep your cooking game strong, but it also ensures
your kitchen stays safe! And, dont worry if youre lost at any point, get in touch with professionals for your Appliance Repair in Charlotte. Safety First: Your Pre-Replacement Checklist Before you channel your inner handyman (or handywoman), let's talk safety: 1. Power Down: Unplug that stove or flip the breaker switch. We're going for a culinary comeback, not an electrifying experience! 2. Cool Your Jets: Let those burners chill out completely. Patience is a virtue, especially when it comes to avoiding burns. 3. Gear Up: Don some work gloves. They're not just for looks they'll protect your hands from sharp edges and grime. Read More Article: How to Fix a Dryer That Isn t Heating Up? The Great Burner Swap: Electric Coil Edition Step 1: The Great Escape Gently lift and pull the burner away from its cozy socket. It might play hard to get, so a little wiggle dance might be necessary. Step 2: CSI: Cooktop Time to play detective! Inspect those burner terminals and sockets for any signs of foul play (read: corrosion or damage). If you spot any culprits, a wire brush or sandpaper can help clean things up. Step 3: The New Kid on the Block Align your shiny new burner with the socket and give it a firm push. It should sit flatter than a pancake on your stovetop. Step 4: The Moment of Truth Power up and turn on that burner. If it glows red, congratulations! You've just successfully performed stove surgery. If not, then you re going to have to get a professional for your stove repair Charlotte NC.
Glass Stovetop Burner Replacement Step 1: Access Granted Remove any screws holding your stovetop hostage and lift it gently. You might need to release some clips or tabs think of it as a puzzle, but tastier. Step 2: Wire Wizardry Snap a quick pic of the wiring (hello, future reference!) and disconnect the wires from the old burner. Easy does it! Step 3: The Switcheroo Connect the wires to your new burner, making sure they match your photo. Secure any brackets or clips we want that burner to feel right at home. Step 4: Reassembly Required Lower the stovetop back into place and secure those screws. Double-check that everything's aligned perfectly we're aiming for a seamless finish! Step 5: Fire It Up Power on and test that new burner. Let it run for a few minutes to burn off any manufacturing oils. Don't panic if you see a little smoke it's just the burner's way of saying "hello"! Read More Article: Common Stove Problems and How to Fix Them Troubleshooting: When Things Get Heated If your new burner is giving you the cold shoulder: Check the receptacle block and burner switch. They might be the real troublemakers. Ensure your replacement part matches your stove's model number. Compatibility is key! In case of doubt, make sure you get a professional Appliance Repair Charlotte. This will save you from making things worse!
The Burning Question: DIY or Pro? DIY Replacement Risk of mistakes Cost-effective Potentially pricier Satisfaction of doing it yourself Peace of mind Requires some technical know-how Expertise guaranteed Time-consuming for beginners Quick turnaround Risk of mistakes Warranty on work Conclusion Ready to turn up the heat on your cooking game? Don't let a faulty burner keep you from creating culinary masterpieces. If you're not feeling confident about tackling this DIY project, or if you encounter any unexpected issues, remember that CLT Appliance Repair is just a call away. Their team of expert technicians is ready to assist with all your appliance repair needs in Charlotte, NC. Don't let a stubborn stove burner simmer your cooking spirits contact CLT Appliance Repair today for professional, efficient service that'll have you back in the kitchen in no time! FAQs: Burning Questions Answered How often should I replace my stove burners? Typically, stove burners can last up to 15 years with proper care. Replace them when you notice uneven heating or visible damage. Can I use any burner as a replacement? No, you need to use a burner that's compatible with your stove's make and model. Check your owner's manual or the manufacturer's website for the correct part number. Is it normal for a new burner to smoke when first used? Yes, it's common for new burners to emit a small amount of smoke and odor during their first use. This is due to manufacturing oils burning off and should dissipate quickly.
How can I extend the life of my stove burners? Clean spills promptly, avoid using oversized pots that cover the entire burner, and don't use abrasive cleaners on glass stovetops. What tools do I need to replace a stove burner? For most replacements, you'll only need a screwdriver and possibly pliers. Always consult your stove's manual for specific requirements. Site Article: How to Replace a Stove Burner?


