Discover the TI-Rover: A Fun Way to Explore Geometry Challenges
Unleash your creativity with the TI-Rover and delve into geometry challenges using the TI-Nspire CX Family. This innovative tool from Texas Instruments offers a hands-on approach to learning, allowing you to engage in captivating activities such as programming movements, detecting colors, and measuring distances. Connect the Rover to your TI graphing calculator and embark on an exciting educational journey filled with exploration and problem-solving. Get started today and enhance your STEM skills with the TI-Rover!

Download Presentation

Please find below an Image/Link to download the presentation.
The content on the website is provided AS IS for your information and personal use only. It may not be sold, licensed, or shared on other websites without obtaining consent from the author.If you encounter any issues during the download, it is possible that the publisher has removed the file from their server.
You are allowed to download the files provided on this website for personal or commercial use, subject to the condition that they are used lawfully. All files are the property of their respective owners.
The content on the website is provided AS IS for your information and personal use only. It may not be sold, licensed, or shared on other websites without obtaining consent from the author.
E N D
Presentation Transcript
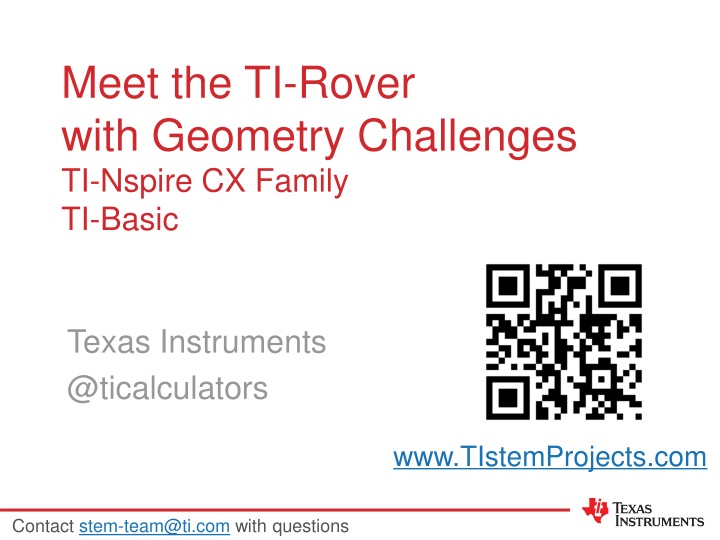
Meet the TI-Rover with Geometry Challenges TI-Nspire CX Family TI-Basic Texas Instruments @ticalculators www.TIstemProjects.com Contact stem-team@ti.com with questions
TI Graphing Calculator TI-Innovator Rover TI-Innovator Hub
Rover from the top Calculator holder posts. Lift and twist to CE or CX side. Red-Green-Blue (RGB) Color LED Battery indicator Marker holder (Expo Fine and Ultra Fine sizes) Battery Charge with USB micro to wall adapter. On/Off Switch
Turn Rover Over What do you see?
Sensors on Rover Motors to turn the wheels Color sensor to detect different colors Ranger to measure distance
TI-Rover orientation and virtual grid Rover programs set the initial position as the origin and the heading as 0 degrees measured from the x-axis. Note: The Rover tracks its position on a virtual coordinate grid with a unit value of 10 cm. The coordinate grid position applies to the RV TO XY, RV TO POLAR, and RV TO ANGLE on the Drive RV Drive menu. The virtual grid also applies to the RV Path menu functions.
Connecting Rover to your calculator Make sure that your Rover is switched on and on floor ready to roll before running the program. 3 1 2 Plug A side into port on calculator the Rover Hub. Plug B side into USB B port of the Rover Hub. Unit-to-unit cable
Connecting your calculator to the Rover Troubleshooting Try the following as a fast fix: Step 1: unplug the unit-to-unit cable from the hub and the calculator. Step 2: re-connect in the order of first Hub then calculator second. Initial Connection Step 1: Make sure that Rover is switched ON Step 2: plug unit-to-unit cable into Hub (Use end of cable labeled B) If the fast fix does not work, try these steps: Step 1: unplug unit-to-unit cable from both the hub and the calculator Step 2: Switch Rover OFF Wait a second Step 3: Switch Rover ON Step 4: plug unit-to-unit cable into Hub Step 5: plug unit-to-unit cable into the calculator Step 3: plug unit-to-unit cable into the calculator (Use end of cable labeled A)
Creating a new TI-Nspire document 2 1 3 Use arrow keys and [enter] or Press [1] to select 1 New document. See next slide for steps to add a program. Press the [home/on] key to display the home screen.
Creating a Rover Program 1 2 4 3 Enter your program name and press [enter]. Press [menu] to bring up a menu of applications to add to the page. Press down arrow repeatedly then press [enter] or press [9] to select Add Program Editor. Select 1: New by pressing [enter] or [1] Note: You can also add a new page to the document by pressing [ctlr] [doc] +page. 8 6 7 5 Press [menu] then [8] Hub [7] Rover (RV) [1] Drive RV [1] FORWARD to paste to the edit line. Type a value for units to drive. Right arrow to the end of the line and press [enter] to complete the statement. Press [ctrl] [R] to run the program in a calculator app on the next page. The Connect RV command is required at the beginning of every Rover program. Note: Right arrow to the end of the line and press [enter] to complete the statement. You begin on a blank program line. Press [menu] then [8] Hub [7] Rover (RV) [8] Send Connect RV
Running a Rover Program 1 2 Press [enter] to run your program in the Calculator app. Press [ctrl] [R] to paste the program name ready to run in a Calculator app on the next page. You can re-run the program in the Calculator app by pressing [enter]. Note: [ctrl] [R] also checks syntax and stores program changes. [ctrl] [B] is another option for checking syntax and storing. * before the program name indicates that changes have not been stored. Before running the program make sure that - Rover is connected to the calculator - Rover is switched on - Rover is on a flat surface ready to roll
Editing a Rover Program 1 2 4 3 Type in a new value for distance, right arrow to the end of the line, then [enter] to move to the next line. Press [del] to backspace over the 3. Use the arrow keys to position the cursor to change the value of the forward distance. Press [ctrl] left to go back to your editor page. 5 6 Press [ctrl] [R] to paste the program name ready to run in a Calculator app on the next page. Press [enter] to run your program in the Calculator app.
Saving a TI-Nspire document file Folder where file will be saved. 4 2 1 3 Type in your file name using alpha and numeric characters. Press [doc] then select 1 File from the menu by pressing [enter] or [1]. Select 4 Save or 5 Save As from the menu. Press [enter] to save the file to the folder indicated above. To change the folder press the [UP] arrow key and then use arrows and [enter] to select a folder before pressing [enter] to save the file. Note: The name must begin with an alpha character. Press [esc] to cancel the save dialogue. You can use [ctrl] [S] as a shortcut to save the TI-Nspire document file.
Opening an existing TI-Nspire document file 2 1 3 Use arrow keys and [enter] or Press [2] to select 2 Browse files. Use arrow keys and [enter] to select a folder and a file. Press the [home/on] key to display the home screen. Note: Pressing the [home/on] key repeatedly toggles between the home screen and the current document.
Drawing with the TI-Rover Use Expo Fine or Extra Fine dry erase markers. The markers drop into a slot on the front of the Rover. Note: The Texas Instruments Workshop Loan Rover cases include markers. Drawing surface: We recommend butcher paper held in place with painters tape on a hard surface.
MAKE IT MOVE! New Program: Task: Discover how far Rover drives per unit. Use differing values (1-20) to determine what 1 Rover unit is. Find CONNECT RV on the 8:Hub>7:Rover menu. Find FORWARD on the 8:Hub>7:Rover>1:Drive RV menu. Enter value for number of units to drive. Right arrow to the end of the line and press [enter] to complete the command and move to the next line. Press [menu] key to see TI-Basic Program Editor options. Press [ctrl] [R] to paste the program name ready to run in a Calculator app on the next page. Press [enter] in the Calculator app to run the program. Use [ctrl] left to move from the Calculator page back to the editor page.
Set the color Task: Set the color output of the RGB LED. Each color takes a value (0- 255). New Program: Challenge Task: Try to make Yellow Enter values for Red, Green and Blue separated by spaces. Find RV.COLOR on the 8:Hub>7:Rover>5:RV.Color menu. Separate the values for Red, Green and Blue with spaces. . Press [menu] key to see TI-Basic Program Editor options. Press [ctrl] [R] to paste the program name ready to run in a Calculator app on the next page. Press [enter] in the Calculator app to run the program. Use [ctrl] left to move from the Calculator page back to the editor page.
Explore angles New Program: Task: Drive a square. Challenge Task: Try to drive an equilateral triangle. The program above is a framework for driving a square. Enter values for distance and turn angle.
Quick Math Reminders Complementary Angles: Sum to 90 degrees Supplementary Angles: Sum to 180 degrees
Quick Math Reminders Exterior angles: Interior Angles:
Logic Challenge Task: Drive the figure shown without crossing any lines or going back over a line and without picking up the pen. When you are ready put the pen in and trace your path
Where can you go next with TI-Rover? Draw artwork Drive an obstacle course Drive a design Navigate a map Write your name Use a For loop to draw polygons Park your Rover
Quick Math Reminders Pythagorean Theorem
Logic Challenge 2 Task: Drive the figure shown without crossing any lines or going back over a line and without picking up the pen. When you are ready put the pen in and trace your path
Logic Challenge 2 3 2 4 5 6 1 7 9 8 10
Thank you! See www.TIstemProjects.com for more TI STEM and coding activities and projects.