CASE IH FARMALL 30C, FARMALL 35C Tier 4B (final) Compact Tractor Service Repair Manual Instant Download
Please open the website below to get the complete manualnn//
Download Presentation

Please find below an Image/Link to download the presentation.
The content on the website is provided AS IS for your information and personal use only. It may not be sold, licensed, or shared on other websites without obtaining consent from the author. Download presentation by click this link. If you encounter any issues during the download, it is possible that the publisher has removed the file from their server.
E N D
Presentation Transcript
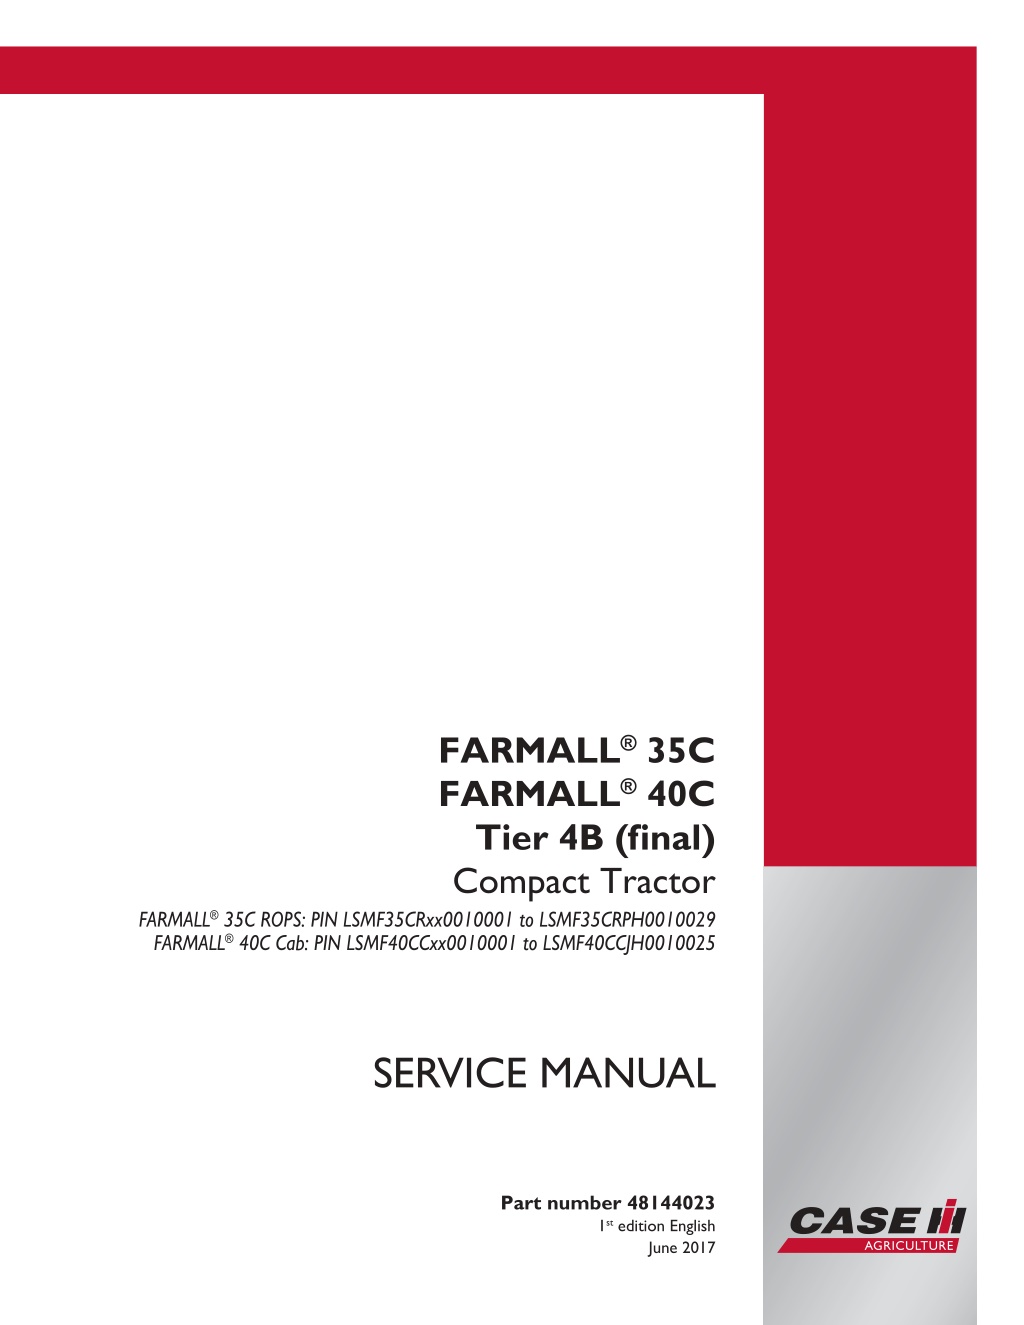
FARMALL 35C FARMALL 40C Tier 4B (final) Compact Tractor FARMALL 35C ROPS: PIN LSMF35CRxx0010001 to LSMF35CRPH0010029 FARMALL 40C Cab: PIN LSMF40CCxx0010001 to LSMF40CCJH0010025 SERVICE MANUAL Printed in U.S.A. Part number 48144023 1st edition English 2017 CNH Industrial America LLC. All Rights Reserved. Case IH is a trademark registered in the United States and many other countries, owned or licensed to CNH Industrial N.V., June 2017 its subsidiaries or affiliates.
SERVICE MANUAL Farmall 35C Tier 4B (final), ROPS [LSMF35CRxx0010001 - LSMF35CRPH0010029] Farmall 40C Tier 4B (final), Cab [LSMF40CCxx0010001 - LSMF40CCJH0010025] 48144023 23/06/2017 EN
Contents INTRODUCTION Engine....................................................................................... 10 [10.001] Engine and crankcase ............................................................. 10.1 [10.216] Fuel tanks .......................................................................... 10.2 [10.206] Fuel filters .......................................................................... 10.3 [10.218] Fuel injection system............................................................... 10.4 [10.202] Air cleaners and lines .............................................................. 10.5 [10.254] Intake and exhaust manifolds and muffler ......................................... 10.6 [10.501] Exhaust Gas Recirculation (EGR) exhaust treatment.............................. 10.7 [10.400] Engine cooling system ............................................................. 10.8 [10.414] Fan and drive ...................................................................... 10.9 Clutch ....................................................................................... 18 [18.100] Clutch mechanical release control ................................................. 18.1 [18.110] Clutch and components ............................................................ 18.2 Power coupling........................................................................... 19 [19.110] Flywheel damper ................................................................... 19.1 Transmission.............................................................................. 21 [21.114] Mechanical transmission ........................................................... 21.1 [21.130] Mechanical transmission external controls......................................... 21.2 [21.140] Mechanical transmission internal components..................................... 21.3 [21.110] Master clutch housing .............................................................. 21.4 Four-Wheel Drive (4WD) system .................................................. 23 [23.314] Drive shaft.......................................................................... 23.1 [23.101] Mechanical control ................................................................. 23.2 Front axle system ....................................................................... 25 [25.100] Powered front axle ................................................................. 25.1 48144023 23/06/2017
https://www.ebooklibonline.com Hello dear friend! Thank you very much for reading. Enter the link into your browser. The full manual is available for immediate download. https://www.ebooklibonline.com
[25.102] Front bevel gear set and differential ............................................... 25.2 [25.108] Final drive hub, steering knuckles, and shafts ..................................... 25.3 Rear axle system........................................................................ 27 [27.106] Rear bevel gear set and differential................................................ 27.1 [27.120] Planetary and final drives .......................................................... 27.2 Hydrostatic drive......................................................................... 29 [29.200] Mechanical control ................................................................. 29.1 [29.100] Transmission and steering hydrostatic control..................................... 29.2 [29.204] Reservoir, cooler, and lines ........................................................ 29.3 [29.218] Pump and motor components...................................................... 29.4 [29.202] Hydrostatic transmission ........................................................... 29.5 Power Take-Off (PTO)................................................................. 31 [31.101] Rear mechanical control ........................................................... 31.1 [31.104] Rear electro-hydraulic control...................................................... 31.2 [31.110] One-speed rear Power Take-Off (PTO) ............................................ 31.3 [31.120] Central Power Take-Off (PTO) ..................................................... 31.4 Brakes and controls .................................................................... 33 [33.110] Parking brake or parking lock ...................................................... 33.1 [33.120] Mechanical service brakes......................................................... 33.2 Hydraulic systems....................................................................... 35 [35.000] Hydraulic systems.................................................................. 35.1 [35.300] Reservoir, cooler, and filters........................................................ 35.2 [35.104] Fixed displacement pump.......................................................... 35.3 [35.350] Safety and main relief valves ...................................................... 35.4 [35.204] Remote control valves ............................................................. 35.5 [35.114] Three-point hitch control valve ..................................................... 35.6 [35.116] Three-point hitch cylinder .......................................................... 35.7 [35.724] Front loader hydraulic system control.............................................. 35.8 48144023 23/06/2017
Hitches, drawbars, and implement couplings.................................. 37 [37.100] Drawbars and towing hitches ...................................................... 37.1 [37.108] Rear three-point hitch external controls............................................ 37.2 [37.110] Rear three-point hitch .............................................................. 37.3 Steering..................................................................................... 41 [41.101] Steering control .................................................................... 41.1 [41.106] Tie rods............................................................................. 41.2 [41.200] Hydraulic control components...................................................... 41.3 [41.216] Cylinders ........................................................................... 41.4 [41.206] Pump............................................................................... 41.5 Wheels...................................................................................... 44 [44.511] Front wheels........................................................................ 44.1 [44.520] Rear wheels........................................................................ 44.2 Cab climate control..................................................................... 50 [50.100] Heating............................................................................. 50.1 [50.104] Ventilation .......................................................................... 50.2 [50.200] Air conditioning..................................................................... 50.3 [50.300] Cab pressurizing system........................................................... 50.4 [50.AAA] Cab climate control generic sub-group............................................ 50.5 Electrical systems....................................................................... 55 [55.000] Electrical system ................................................................... 55.1 [55.100] Harnesses and connectors......................................................... 55.2 [55.525] Cab engine controls................................................................ 55.3 [55.201] Engine starting system............................................................. 55.4 [55.301] Alternator........................................................................... 55.5 [55.640] Electronic modules................................................................. 55.6 [55.031] Parking brake electrical system.................................................... 55.7 [55.512] Cab controls........................................................................ 55.8 48144023 23/06/2017
[55.051] Cab Heating, Ventilation, and Air-Conditioning (HVAC) controls................... 55.9 [55.050] Heating, Ventilation, and Air-Conditioning (HVAC) control system............... 55.10 [55.023] Transmission position sensors and switches .................................... 55.11 [55.052] Central or middle Power Take-Off (PTO) control system ........................ 55.12 [55.610] Ground speed control ............................................................ 55.13 [55.DTC] FAULT CODES.................................................................. 55.14 Platform, cab, bodywork, and decals............................................. 90 [90.150] Cab................................................................................. 90.1 [90.110] Operator platform less cab ......................................................... 90.2 [90.114] Operator protections ............................................................... 90.3 [90.120] Mechanically-adjusted operator seat............................................... 90.4 [90.100] Engine hood and panels ........................................................... 90.5 [90.116] Fenders and guards................................................................ 90.6 48144023 23/06/2017
INTRODUCTION 48144023 23/06/2017 1
INTRODUCTION Foreword - Important notice regarding equipment servicing All repair and maintenance work listed in this manual must be carried out only by qualified dealership personnel, strictly complying with the instructions given, and using, whenever possible, the special tools. Anyone who performs repair and maintenance operations without complying with the procedures provided herein shall be responsible for any subsequent damages. The manufacturer and all the organizations of its distribution chain, including - without limitation - national, regional, or local dealers, reject any responsibility for damages caused by parts and/or components not approved by the manu- facturer, including those used for the servicing or repair of the product manufactured or marketed by the manufacturer. In any case, no warranty is given or attributed on the product manufactured or marketed by the manufacturer in case of damages caused by parts and/or components not approved by the manufacturer. The manufacturer reserves the right to make improvements in design and changes in specifications at any time without notice and without incurring any obligation to install them on units previously sold. Specifications, descriptions, and illustrative material herein are as accurate as known at time of publication but are subject to change without notice. In case of questions, refer to your CASE IH Sales and Service Networks. 48144023 23/06/2017 3
INTRODUCTION Safety rules Personal safety This is the safety alert symbol. It is used to alert you to potential personal injury hazards. Obey all safety messages that follow this symbol to avoid possible death or injury. Throughout this manual you will find the signal words DANGER, WARNING, and CAUTION followed by special in- structions. These precautions are intended for the personal safety of you and those working with you. Read and understand all the safety messages in this manual before you operate or service the machine. DANGER indicates a hazardous situation that, if not avoided, will result in death or serious injury. WARNING indicates a hazardous situation that, if not avoided, could result in death or serious injury. CAUTION indicates a hazardous situation that, if not avoided, could result in minor or moderate injury. FAILURE TO FOLLOW DANGER, WARNING, AND CAUTION MESSAGES COULD RESULT IN DEATH OR SERIOUS INJURY. Machine safety NOTICE: Notice indicates a situation that, if not avoided, could result in machine or property damage. Throughout this manual you will find the signal word Notice followed by special instructions to prevent machine or property damage. The word Notice is used to address practices not related to personal safety. Information NOTE: Note indicates additional information that clarifies steps, procedures, or other information in this manual. Throughout this manual you will find the word Note followed by additional information about a step, procedure, or other information in the manual. The word Note is not intended to address personal safety or property damage. 48144023 23/06/2017 5
SERVICE MANUAL Engine Farmall 35C Tier 4B (final), ROPS [LSMF35CRxx0010001 - LSMF35CRPH0010029] Farmall 40C Tier 4B (final), Cab [LSMF40CCxx0010001 - LSMF40CCJH0010025] 48144023 23/06/2017 10
Engine - Engine and crankcase Engine - Remove Prior operation: Drain fluid Hydrostatic transmission - Change fluid (29.202) Prior operation: Drain fluid Mechanical transmission - Change fluid (21.114) Prior operation: Hood - Remove (90.100) Prior operation: Radiator - Remove (10.400) NOTE: Cap off all hydraulic and fuel fittings or tubes to prevent contamination. NOTE: Note the placement of cable ties for reassembly. 1. Remove the two M8 flange bolts (1) securing the rear cowling. 2. Remove the rear cowling (2). 1 NHIL16CT01367AA 3. Remove the four M10 bolts (2) that mount the hood support bracket (1) to the flywheel housing. 2 NHIL16CT01398AA 3 NHIL16CT01400AA 48144023 23/06/2017 10.1 [10.001] / 4
Engine - Engine and crankcase 4. Remove the M8 bolt (1) in the front of the Four Wheel Drive (FWD) guard tube. 5. Slide the guard tube rear-ward. 4 NHIL16CT01006AA 6. Use a roll pin punch and a hammer and drive the roll pin (1) through the coupler. 7. Slide the coupler rear-ward. 5 NHIL16CT00679AA Right-hand side 8. Remove the M6 bolt (1) and remove the ground wire (2) from the bell housing. 6 NHIL16CT01383AA 9. Loosen the hose clamps (1) and slide the suction tube coupler (2) rear-ward. 7 NHIL16CT00550AA 48144023 23/06/2017 10.1 [10.001] / 5
Engine - Engine and crankcase 10. Remove the banjo bolt (2) from the main hydraulic pump. 11. Remove the three M6 bolts (3) from the steering pump suction fitting (4). 12. Remove the suction tube (5). 13. Disconnect the main hydraulic pump outlet pipe (7). 14. For Roll Over Protective Structure (ROPS) tractor: 1. Disconnect the steering pump outlet hose (6). Cap off the hose and route the hose away from the engine. 8 NHIL16CT01377AA 15. For mechanical transmissions: 1. Remove the banjo bolt (8) from the Mid Mount Valve (MMV) pressure port. 2. Remove the main hydraulic pump outlet pipe (1) from the MMV. 16. For Hydro-Static Transmissions (HST): 1. Remove the main hydraulic pump outlet pipe (1) from the union fitting (2). 9 NHIL15CT00802AA Cab tractor only 17. Disconnect the steering pressure hose (2) at the back side of the resonator (1) . Cap off the hose and route the hose away from the engine. 10 NHIL17CT00216AA 48144023 23/06/2017 10.1 [10.001] / 6
Engine - Engine and crankcase 18. Disconnect the two heater coolant hoses (1)on the right side of the machine. 11 NHIL16CT01417AA 19. Disconnect the air conditioning lines at quick discon- nects (1)on the left side of the machine. 12 NHIL16CT01488AA Left-hand side 20. Removethecoatednutandremovetheshield(1)from the starter motor solenoid. 13 NHIL16CT01381AA 21. Remove the M8 flange nut and remove the power ca- ble (1) from the stud. 14 NHIL16CT01385AA 48144023 23/06/2017 10.1 [10.001] / 7
Engine - Engine and crankcase 22. Disconnect the Engine Control Unit (ECU) elec- trical connector (1) near the middle of the engine crankcase. 15 NHIL16CT01386AA 23. Disconnect the power and ground electrical connec- tors (1) above the starter motor. 16 NHIL16CT01387AA 24. Disconnectthefuelsupplyhose(1)fromthefuelwater separator filter to the fuel tank. 25. Disconnect the fuel return hose (2) from the high-pres- sure fuel pump to the right-hand fitting on the fuel cooler. 26. Disconnect the fuel return hose (3) from the fuel tank. 17 NHIL16CT01379AA 27. Disconnect the right-hand and left-hand steering hoses (1) at the power steering cylinders. 28. Tie hoses back out of the way toward rear of the trac- tor. 18 NHIL17CT00004AA 48144023 23/06/2017 10.1 [10.001] / 8
Engine - Engine and crankcase 29. Disconnect the glow plug electrical connector (3). 30. Remove the M8 bolt (3) from the Catalyzed Continu- ously Regenerating Trap (CCRT) bracket. 31. Disconnect the Differential Pressure Sensor (DPS) in- put hoses (4). 32. Disconnect the DPS electrical connector (1). 19 NHIL16CT01399AA 33. For HST transmissions: 1. Disconnect the two hydraulic oil cooler lines (1). 2. Route the hydraulic oil cooler hoses toward the front of the tractor. 20 NHIL16CT01380AA Front frame 34. Support the engine and transmission section of the tractor independent of the front frame. 35. Insert wooden wedge blocks between the front frame and front axle housing. 36. Remove the six M14 bolts (1) on the right-hand and left-hand sides of the front frame. 21 NHIL16CT01397AA 22 NHIL16CT01390AA 48144023 23/06/2017 10.1 [10.001] / 9
Engine - Engine and crankcase 37. Roll the front frame away from the engine. Support the front frame with a jack stand. 23 NHIL16CT01401AA Separating engine from transmission 38. Remove the M10 bolt (2) from the rear Four Wheel Drive (FWD) guard tube (1) . 39. Remove the guard tube (1) and drive-shaft (1). 24 NHIL16CT01376AA 40. Support the engine with appropriate lifting equipment. 41. Remove the M12 two bolts (1) on the bottom of the bell housing. 25 NHIL16CT01038AA 42. Remove the four M12 bolts (1) on the right hand side of machine. 26 NHIL16CT01397AA 48144023 23/06/2017 10.1 [10.001] / 10
Engine - Engine and crankcase 43. Remove the four M12 bolts (1) on the left hand side of machine.. NOTE:TheM12boltonthetopleft-handsideisassessable by removing the rubber plug (2) in the operators station. 44. Pry the engine away from the transmission section. 45. Slide the engine off the input shafts and dowel pins. Separate the engine from the transmission section. 27 NHIL16CT01391AA 28 NHIL16CT01392AA 48144023 23/06/2017 10.1 [10.001] / 11
Engine - Engine and crankcase Engine - Install Joining the engine to the transmission section 1. Clean the joining surfaces of the engine and the trans- mission. 2. Slide the engine towards the transmission. 3. Align the engine with the input shafts of the transmis- sion and the dowel pins. 4. Pushtheengineagainstthejoiningsurfaceofthetrans- mission. NOTE: If the engine will not join completely with the trans- mission turn the crankshaft slowly to align the engine with the transmission input shaft splines. 5. Install the ten M12 bolts (1). Torque to 108 N m (80 lb ft) 1 NHIL16CT01397AA 2 NHIL16CT01038AA 3 NHIL16CT01391AA 48144023 23/06/2017 10.1 [10.001] / 12
Engine - Engine and crankcase 6. Install the Front Wheel Drive (FWD) drive shaft (3) and guard tube (3). 7. Install the M10 bolt (1) in the rear of the guard tube. 4 NHIL16CT01376AA 8. Position the hood hinge support bracket (1) on the en- gine bell-housing. 9. Install the four M10 bolts (2) from the hood hinge sup- port bracket. Tighten the hardware. 5 NHIL16CT01398AA 6 NHIL16CT01400AA Joining the front frame to engine 10. Roll the front frame into position. NOTE: Be sure the drive shaft coupler is installed on the forward section of the drive shaft. 7 NHIL16CT01401AA 48144023 23/06/2017 10.1 [10.001] / 13
Engine - Engine and crankcase 11. Install the six M14 bolts (1) on the right-hand and left- hand sides of the front frame. 12. Torque the M14 bolts to 140 N m (103 lb ft) 13. Remove the wooden wedge blocks between the front frame and the front axle housing. 14. Remove the support stands. 8 NHIL16CT01397AA 9 NHIL16CT01390AA 15. Center the FWD coupler (1) on the drive shaft and front axle input shaft. 16. Install the roll-pin in the coupler. 10 NHIL16CT00679AA 17. Slide the guard tube forward and secure the guard tube to the front axle housing using the M8 bolt (1). Tighten the hardware. 11 NHIL16CT01006AA 48144023 23/06/2017 10.1 [10.001] / 14
Engine - Engine and crankcase Left-hand side 18. Connect the Differential Pressure Sensor (DPS) elec- trical connector (1). 19. Connect the DPS input hoses (4) . 20. Install the M8 bolt (2) from the Catalyzed Continuously Regenerating Trap (CCRT) bracket. Tighten the hard- ware. 21. Connect the glow plug electrical connector (3). 12 NHIL16CT01399AA 22. Connect the fuel return hose (2) from the fuel tank. 23. Connect the fuel return hose (3) from the right-hand fittingonthefuelcoolertothehigh-pressurefuelpump return fitting. 24. Connect the fuel supply hose (1) from the fuel tank to the fuel water separator filter. 13 NHIL16CT01379AA 25. For Hydrostatic Transmission (HST): 1. Route the hydraulic oil cooler hoses toward the oil cooler steel lines. 2. Connect the two hydraulic oil cooler lines (1). Tighten the fittings. 14 NHIL16CT01380AA 26. Connect the right-hand and left-hand steering hoses (1) at the power steering cylinders. Tighten fittings 15 NHIL17CT00004AA 48144023 23/06/2017 10.1 [10.001] / 15
Engine - Engine and crankcase 27. Connect the Engine Control Unit (ECU) electrical con- nector (1) near the middle of the engine crankcase. 16 NHIL16CT01386AA 28. Connect the power and ground electrical connectors (1) above the starter motor. 17 NHIL16CT01387AA 29. Install the power wire (1) on the M8 stud on the starer motor solenoid. 30. Install the M8 nut on the start motor solenoid. Tighten the hardware. 18 NHIL16CT01385AA 31. Install the starter motor solenoid shield (1). 19 NHIL16CT01381AA 48144023 23/06/2017 10.1 [10.001] / 16
Engine - Engine and crankcase Right-hand side 32. Position the suction tube (5) on the hydraulic pumps. 33. Install the three M6 bolts (3) on the steering pump suction fitting (4). Tighten the hardware. 34. Install the banjo bolt (2) on the main hydraulic pump using new sealing washers. Tighten the secure line to banjo bolt. 35. For Roll Over Protective Structure (ROPS) tractor: 1. Connect the steering pump outlet hose (6). Tighten the fitting. 20 NHIL16CT01377AA 36. Position the suction tube coupler (2) so both suction tube ends are connected. Tighten the clamps (1). 21 NHIL16CT00550AA 37. Attach the ground wire (2) to the bell housing by using the M6 bolt (1). Tighten the hardware. 22 NHIL16CT01383AA 38. For mechanical transmissions: 1. Install the main hydraulic pump outlet pipe (1) to the hydraulic pump (3) . Don not tighten fitting at this time. 2. Install the banjo bolt (4) to secure line to the Mid Mount Valve (MMV). 3. Tighten banjo bolt at MMV and fitting at hydraulic pump at this time. 23 NHIL16CT01377AA 48144023 23/06/2017 10.1 [10.001] / 17
Engine - Engine and crankcase 39. For Hydrostatic Transmission (HST): 1. Connect the main hydraulic pump outlet pipe (1) to the union fitting (2). Tighten fitting 24 NHIL15CT00802AA Cab tractor only 40. Connect the steering pressure hose (2) at the back side of the resonator (1). Tighten the fitting. 25 NHIL17CT00216AA 41. Connect the two heater coolant hoses (1), located on the right hand side of the machine. 26 NHIL16CT01417AA 42. Disconnect the air conditioning lines at quick discon- nects (1), located on the left hand side of the ma- chine. 27 NHIL16CT01488AA 48144023 23/06/2017 10.1 [10.001] / 18
Engine - Engine and crankcase Final Assembly 43. Position the rear cowling (2) . 44. Install the two M8 bolts (1). Tighten the hardware. 28 NHIL16CT01367AA Next operation: Radiator - Install (10.400) Next operation: Hood - Install (90.100) Next operation: Refilltransmissionwithoil. Hydrostatictransmission-Changefluid(29.202)/Mechanicaltransmission-Change fluid (21.114) 48144023 23/06/2017 10.1 [10.001] / 19
Engine - Engine and crankcase Engine - Change fluid - Oil and filter CAUTION Burn hazard! Do not handle any service fluid (engine coolant, engine oil, hydraulic oil, etc.) at temperatures that exceed 49 C (120 F). Allow fluids to cool before proceeding. Failure to comply could result in minor or moderate injury. C0107B WARNING Jack stands can slip or fall over. Dropping, tipping, or slipping of machine or its components is pos- sible. DO NOT work under a vehicle supported by jack stands only. Park machine on a level surface. Block wheels. Support machine with safety stands. Failure to comply could result in death or serious injury. W0069A NOTE: Change the engine oil and filter after the first 50 hours of operation, then every 300 hours thereafter. If the tractor is in operation for extended periods at maximum rated power and speed, or under other types of continuous, severe operating conditions, change the engine oil, and filter at 200 hour intervals following the initial oil change. To change the engine oil, do the following: 1. Place a suitable container beneath the drain opening to catch the used oil. With the tractor engine off but at normal operating temperature, remove the two drain plugs, (1) and (2), located on both sides of the engine oil pan. Install the plugs after draining the oil. 1 NHIL16CT00447AA 2 NHIL16CT00449AA 48144023 23/06/2017 10.1 [10.001] / 20
Suggest: If the above button click is invalid. Please download this document first, and then click the above link to download the complete manual. Thank you so much for reading
Engine - Engine and crankcase 2. Next, place a container below the oil filter, (3), to catch the used oil and unscrew the oil filter. Discard the used oil and filter. 3. Coat the gasket on the new filter with a film of clean oil. Screw the filter into place until the gasket contacts the mating surface, and then turn the filter approximately three-quarters of a turn by hand. Do not overtighten. 3 NHIL16CT00447AA 4. Add the specified type and amount of new oil at fill port (4), then start the engine and check the filter for leaks. NOTE: Oil Capacity, with filter 5.0 l (5.3 US qt) NOTICE: Use of any engine oil other than (CJ-4) may clog the (DPF) earlier than expected and fuel usage may in- crease. 4 NHIL16CT00449AA Recommended Oils Ambient Temp ( F) Recommended Oil -23.3 49 C (-10 120 F) CASE IH AKCELA NO. 1 ENGINE OIL CJ-4 SAE 10W-30 CASE IH AKCELA NO. 1 ENGINE OIL CJ-4 SAE 15W-40 -12 49 C (10 120 F) Oil Specification API CJ-4 48144023 23/06/2017 10.1 [10.001] / 21
https://www.ebooklibonline.com Hello dear friend! Thank you very much for reading. Enter the link into your browser. The full manual is available for immediate download. https://www.ebooklibonline.com

