Creating Moon Texture and Background for Your Final Piece
In this lesson, you will create a moon texture using paint and materials, focusing on adding bumps and craters. Additionally, you will work on a background, experimenting with black paint and possibly creating a space boot stamp effect. The final step involves combining your moon and background to complete your artwork.

Download Presentation

Please find below an Image/Link to download the presentation.
The content on the website is provided AS IS for your information and personal use only. It may not be sold, licensed, or shared on other websites without obtaining consent from the author. Download presentation by click this link. If you encounter any issues during the download, it is possible that the publisher has removed the file from their server.
E N D
Presentation Transcript
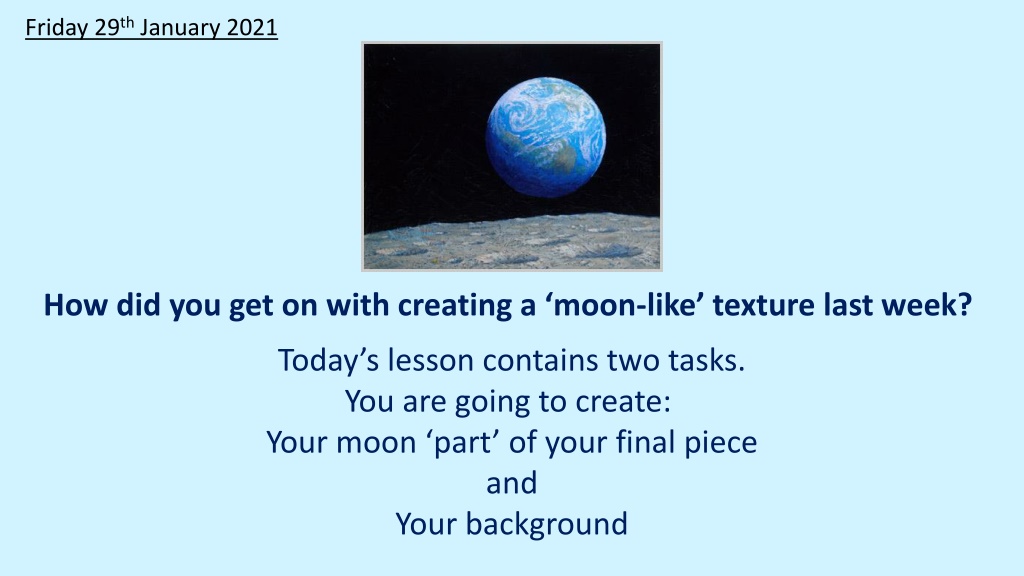
Friday 29th January 2021 How did you get on with creating a moon-like texture last week? Today s lesson contains two tasks. You are going to create: Your moon part of your final piece and Your background
Friday 29th January 2021 To create your moon, you will need: Whichever combination of paint and material that you thought created the best texture last week and the tools to be able to paint, e.g paint brush (or an alternative if you weren t using paints) A piece of paper to paint / colour onto. To create your background you will need: Black paint (or colouring pens/pencils if you don t have paints at home) Another piece of paper to paint / colour onto Optional: A welly / boot and either a plastic bag or some cling film (something to stop your boot from getting messy!)
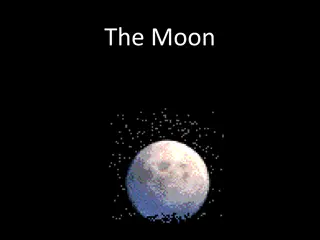
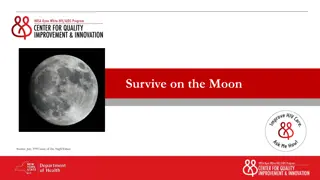
Friday 29th January 2021 Creating your moon Have a look at our focus picture, The Source of Intelligent Life . How much of the whole picture does the moon occupy? Today, you need to create your moon. It is up to you whether you cover your whole sheet of paper with your moon mixture and then cut it into the correct shape after it has dried or you cut it beforehand. Firstly, mix the colour that you are going to use for your moon and add your chosen material to your paint mixture. Then, paint it onto your paper, trying to create bumps and craters just like you can see in The Source of Intelligent Life .
Creating your background On first glance, it might look like the background in The Source of Intelligent Life is just totally black . However, if you look really closely You might see a faint boot print on the painting. Alan Bean used his space boot to stamp onto his painting! Can you see it?
Friday 29th January 2021 Creating your background When you create your background today, start by painting it totally black. Then, think about whether you could create the space boot stamp effect Could you try stamping a welly onto the wet paint (remember to test with a tiny bit of paint first to check that it won t stain your welly! Or see if you can protect your welly with a plastic bag or cling film before stamping it on the paint). If you don t have a boot to use, could you try etching into your paint with a pencil to create a boot mark? You could also try this if you are using pens/pencils rather than paint.
Friday 29th January 2021 Plenary: When both your moon and your background are dry, stick your moon onto your backdrop. Remember, it should only take up roughly as much space as it does on The Source of Intelligent Life . Next week, you are going to create your planet! You aren t going to show Earth, you will create your own planet (the one that you designed for Literacy) to use within your artwork. If you have paints at home, see if you can find some clingfilm before next Friday... You don t need lots, 30cm in length would easily be enough We will reveal more about how you could use this next week!