CASE IH Magnum 280 Tractor Service Repair Manual Instant Download [Z8Rx06001 - ]
Please open the website below to get the complete manualnn//

Download Presentation

Please find below an Image/Link to download the presentation.
The content on the website is provided AS IS for your information and personal use only. It may not be sold, licensed, or shared on other websites without obtaining consent from the author. Download presentation by click this link. If you encounter any issues during the download, it is possible that the publisher has removed the file from their server.
E N D
Presentation Transcript
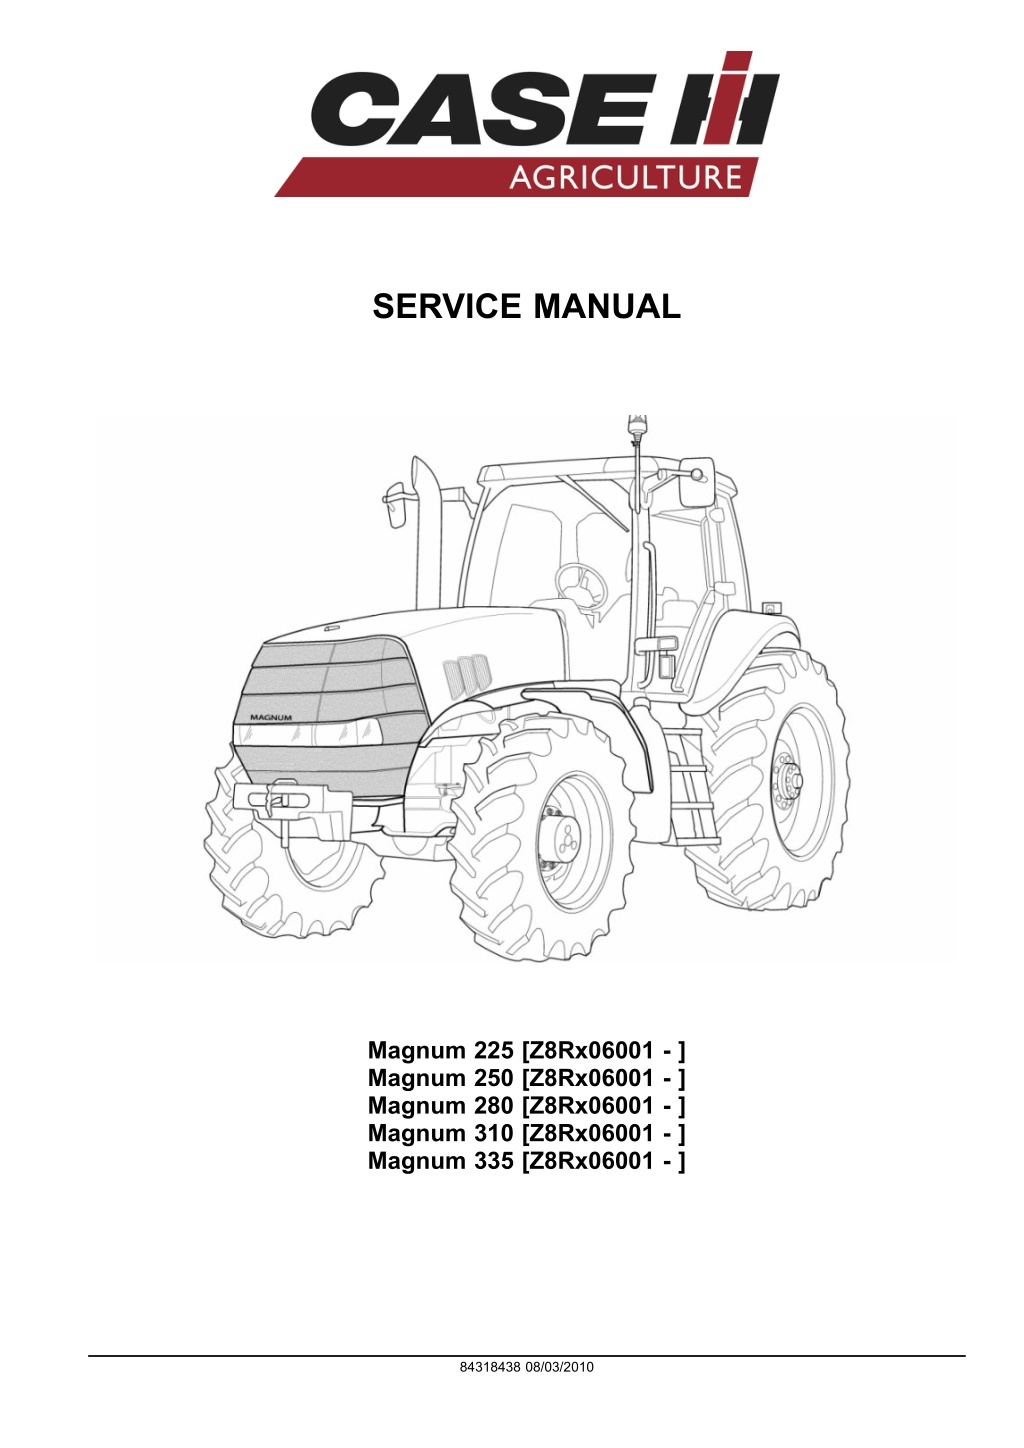
SERVICE MANUAL Magnum 225 [Z8Rx06001 - ] Magnum 250 [Z8Rx06001 - ] Magnum 280 [Z8Rx06001 - ] Magnum 310 [Z8Rx06001 - ] Magnum 335 [Z8Rx06001 - ] 84318438 08/03/2010
Contents INTRODUCTION DISTRIBUTION SYSTEMS.............................................................A PRIMARY HYDRAULIC POWER SYSTEM............................................... A.10.A PRIMARY HYDRAULIC POWER SYSTEM Electro-hydraulic remote valve..............A.10.C PNEUMATIC SYSTEM .................................................................... A.20.A ELECTRICAL POWER SYSTEM ......................................................... A.30.A LIGHTING SYSTEM....................................................................... A.40.A ELECTRONIC SYSTEM .................................................................. A.50.A FAULT CODES ............................................................................ A.50.A POWER PRODUCTION.................................................................B ENGINE ................................................................................... B.10.A FUEL AND INJECTION SYSTEM......................................................... B.20.A ENGINE COOLANT SYSTEM ............................................................ B.50.A LUBRICATION SYSTEM .................................................................. B.60.A STARTING SYSTEM ...................................................................... B.80.A POWER TRAIN.............................................................................C POWER COUPLING Drop box............................................................C.10.E POWER COUPLING Fixed coupling ......................................................C.10.B TRANSMISSION Powershift ..............................................................C.20.E REAR PTO Hydraulic..................................................................... C.40.C BAR AXLE.................................................................................C.60.A TRAVELLING................................................................................D FRONT AXLE .............................................................................D.10.A 2WD-4WD SYSTEM Hydraulic........................................................... D.14.C STEERING Hydraulic..................................................................... D.20.C SERVICE BRAKE Hydraulic.............................................................. D.30.C PARKING BRAKE Hydraulic ............................................................. D.32.C BRAKE CONNECTION Hydraulic........................................................ D.34.C 84318438 08/03/2010
BRAKE CONNECTION Pneumatic........................................................D.34.E SUSPENSION Hydraulic ................................................................. D.40.C BODY AND STRUCTURE ..............................................................E SHIELD.................................................................................... E.20.A USER CONTROLS AND SEAT ........................................................... E.32.A USER CONTROLS AND SEAT Operator seat ............................................E.32.C USER PLATFORM ........................................................................ E.34.A ENVIRONMENT CONTROL Heating, ventilation and air-conditioning....................E.40.D SAFETY SECURITY ACCESSORIES Safety............................................. E.50.B WORKING ARM............................................................................H HITCH Rear hitch......................................................................... H.10.C 84318438 08/03/2010
https://www.ebooklibonline.com Hello dear friend! Thank you very much for reading. Enter the link into your browser. The full manual is available for immediate download. https://www.ebooklibonline.com
INTRODUCTION 84318438 08/03/2010 1
INTRODUCTION Safety rules Magnum 225, Magnum 250, Magnum 280, Magnum 310, Magnum 335 WARNING Improper machine operation can cause injury or death. Always operate all machine controls from the opera- tor s seat. 84-60 WARNING Before starting engine, study operator s manual safety messages. Read all safety signs on machine. Clear the area of other persons. Learn and practice safe use of controls before operating. It is your responsibility to understand and follow manufacturer s instructions on machine operation, service, and to observe pertinent laws and regulations. Operators and service manuals can be obtained from your equipment dealer. D46-59C WARNING If you wear clothing that is too loose or do not use the correct safety equipment for your job, you can be injured. Always wear clothing that will not catch on objects. Extra safety equipment that can be required includes hard hat, safety shoes, ear protection, eye or face protection, heavy gloves and reflector clothing. M492 WARNING When working in the area of the fan belt with the engine running, avoid loose clothing if possible, and use extreme caution. M493 WARNING When doing checks and tests on the equipment hydraulics, follow the procedures as they are written. DO NOT change the procedure. M494 WARNING Lower all attachments to the ground or use stands to safely support the attachments before you do any main- tenance or service. M496 WARNING Fluid under pressure can have sufficient force to penetrate the skin, causing serious personal injury. Always protect the skin and eyes from escaping fluid under pressure. Before disconnecting lines or fittings, be sure to release all pressure by operating the tractor control valves. Before applying pressure to the system, be sure all connections are tight and that hoses and connections are not damaged. If injured by escaping fluid, obtain medical assistance at once. Serious infection or reaction can develop if medical treatment is not ad- ministered immediately. Failure to comply could result in death or serious injury. M1184 84318438 08/03/2010 3
INTRODUCTION WARNING Hydraulic fluid escaping under pressure can have enough force to penetrate the skin. Hydraulic fluid may also infect a minor cut or opening in the skin. If injured by escaping fluid, see a doctor at once. Serious infection or reaction can result if medical treatment is not given immediately. Make sure all connections are tight and that hoses and lines are in good condition before applying pressure to the system. Relieve all pressure before disconnecting the lines or performing other work on the hydraulic system. To find a leak under pressure use a small piece of cardboard or wood. Never use hands. Failure to comply could result in death or serious injury. M252A WARNING When removing hardened pins such as a pivot pin, or a hardened shaft, use a soft head (brass or bronze) hammer or use a driver made from brass or bronze and a steel head hammer. M497 WARNING When using a hammer to remove and install pivot pins or separate parts using compressed air or using a grinder, wear eye protection that completely encloses the eyes (approved goggles or other approved eye protectors). M498 WARNING Use suitable floor (service) jacks or chain hoist to raise wheels or tracks off the floor. Always block machine in placed with suitable safety stands. M499 WARNING When servicing or repairing the machine. Keep the shop floor and operators compartment and steps free of oil, water, grease, tools, etc. Use an oil absorbing material and or shop cloths as required. Use safe practices at all times. M500 WARNING Batteries contain acid and explosive gas. Explosions can result from sparks, flames or wrong cable con- nections. To connect the jumper cables correctly to the battery of this machine see the Operators Manual. Failure to follow these instructions can cause serious injury or death. M504 84318438 08/03/2010 4
DISTRIBUTION SYSTEMS - PRIMARY HYDRAULIC POWER SYSTEM Tandem gear pump Regulated pressure - Adjust Magnum 225, Magnum 250, Magnum 280, Magnum 310, Magnum 335 NOTICE: Regulated pressure cannot be adjusted on the Magnum 335. The transmission controller monitors and adjusts regulated as required on this model. 1. To perform the regulated pressure check and adjust- ment with the tractor instrumentation: Start the engine. Cover the front grill with a large piece of paper. Press the INCR or DECR key on the instru- mentation until the TRANS OIL TEMP screen is reached. Operate the engine at 1500 RPM until the transmission temperature displayed on the instrumentation reads at least 49 C (120 F). 2. The regulated pressure specification is 22.4 - 24.5 bar (325 - 355 psi) at 1500 RPM engine speed. Pressure is adjustable at the screw indicated (1). 1 RCPH07CCH020BAE 3. Loosen the lock nut and turn the adjustment screw (1) in or out until the correct pressure displays on the tractor instrumentation. 4. Tighten the lock nut to a torque of 41 - 54 Nm (30 - 40 lb ft). After tightening the lock nut, check the regulated pressure again. 5. If the correct pressure cannot be obtained, check the following: Transmission oil level. Priority/regulator valve for broken springs or sticking spool. See Control valve Priority/ Regulator valve - Remove (A.10.A). Low pump flow performance. gear pump Regulated pressure - Flow test (A.10.A). See Tandem 84318438 08/03/2010 A.10.A / 124
DISTRIBUTION SYSTEMS - PRIMARY HYDRAULIC POWER SYSTEM Tandem gear pump Regulated pressure - Flow test Magnum 225, Magnum 250, Magnum 280, Magnum 310, Magnum 335 Special Tools: Flowmeter 380001806, 19.0 mm (0.75 in) hoses and special tool kit 380040106 are required for this test. NOTE: Always perform the regulated system pressure test and adjustment procedure before this test NOTE: The front section of the tandem gear pump supplies oil flow to the priority/regulator valve. The regulator section of the valve maintains the regulated circuit pressure at 22.4 - 24.5 bar (325 - 355 psi). 1 RCPH07CCH004GAE 1. Connect the outlet of the front section of the pump to the flowmeter inlet (1). 2. Connect the outlet of the flowmeter to the remote return manifold (2). NOTE: If the tractor is equipped with power beyond, con- nect the outlet of flowmeter to the return port on the power beyond coupler. 3. Open the flowmeter load valve completed (turned counterclockwise) before starting tractor. NOTE: Hydraulic system oil does not have to be heated for this test, but the system should be near room temperature 21 C (70 F). 84318438 08/03/2010 A.10.A / 125
DISTRIBUTION SYSTEMS - PRIMARY HYDRAULIC POWER SYSTEM 4. To perform this test: Place the transmission control in park. Start and run the engine at 2000 RPM. Adjust the flowmeter load setting to approxi- mately 20.7 bar (300 psi). Record the front regulated pump flow reading ___________. 5. Analyze the results: If the flow reading was greater than 90.8 l/min (24.0USgpm)at2000RPMenginespeed, the front regulated pump is functioning correctly. If the flow reading was 81.8 - 90.8 l/min (21.6 - 24.0 US gpm) at 2000 RPM engine speed, the front regulated pump output is adequate, but pump efficiency is low. If the flow reading was less than 81.8 l/min (21.6 US gpm) at 2000 RPMengine speed, re- place the front regulated pump. 84318438 08/03/2010 A.10.A / 126
DISTRIBUTION SYSTEMS - PRIMARY HYDRAULIC POWER SYSTEM Tandem gear pump Charge and lubrication - Pressure test Magnum 225, Magnum 250, Magnum 280, Magnum 310, Magnum 335 Special Tools: A 7.0 bar (100 psi) pressure gauge with an extension hose long enough to reach into cab and diag- nostic fitting part number 322529A1 are required for this test. NOTE:Performthistestwhenexperiencingproblemswithallthepressureandflowcompensating(PFC)pumpcircuits all remote sections and the hitch system not operating normally. The symptoms could be low flow, aerated oil, or unusually loud pump operation possibly due to cavitation. NOTICE: Do not attempt to use the hitch during this test. 1. To perform this test: Move the right rear tire out to the end of axle, if required. Locate the return flow manifold tube (1). Re- move the lower cap or hose assembly (2), and install diagnostic fitting 322529A1. If a hitch return hose was disconnected, plug the open fitting to keep contaminates out. Install hose/gauge assembly to the diagnostic port. 1 RCPH07CCH009GAE 2. Place the transmission in Park. Start and run the engine at low idle. 3. Heat the transmission oil to a minimum of 49 C (120 F). Place a piece of cardboard over the oil cooler to help heat the oil. 4. Increase the engine speed to 2000 RPM. Record the charge pressure ____________ 5. If the correct charge pressure displays 3.4 bar (50 psi) minimum at 2000 RPM engine speed, the charge system is performing correctly. 6. If the charge pressure is less than 3.4 bar (50 psi), check for the following: Low oil level in the transmission. A broken spring or a stuck poppet in the lube relief valve. Plugged inlet suction screen. Air leaks on the suction side of the pump. Low charge pump pressure. gear pump Charge and lubrication - Pres- sure test (A.10.A). See Tandem Low regulated pump flow. See Tandem gear pump Regulated pressure - Pressure test (A.10.A). 84318438 08/03/2010 A.10.A / 127
DISTRIBUTION SYSTEMS - PRIMARY HYDRAULIC POWER SYSTEM 7. If the charge pressure is low, check for broken spring or damaged seat on lube relief valve cartridge. If the relief is okay and the inlet screen is not blocked, the pump must be replaced. 2 RCPH07CCH020BAE 84318438 08/03/2010 A.10.A / 128
DISTRIBUTION SYSTEMS - PRIMARY HYDRAULIC POWER SYSTEM Tandem gear pump Charge and lubrication - Remove Magnum 225, Magnum 250, Magnum 280, Magnum 310, Magnum 335 Prior operation: Pressure/flow compensating (PFC) pump Dual flow - Remove (A.10.A). 1. Disconnect the charge outlet (1) and regulated circuit outlet (2) hose assemblies from tandem gear pump. Cap or plug all open ports and lines. 1 RCPH07CCH415AAB 2. Disconnect the pressure switch connector at the filter housing. 2 RCPH07CCH416AAB 3. Loosen the hose clamp at the top and bottom on the pump inlet hose. 3 RCPH07CCH417AAB 84318438 08/03/2010 A.10.A / 129
DISTRIBUTION SYSTEMS - PRIMARY HYDRAULIC POWER SYSTEM 4. Carefully pry up around the base of the inlet hose. Move the hose off the flange. 4 RCPH07CCH418AAB 5. Remove the two bolts that secure the pump inlet flange. 5 RCPH07CCH419AAB 6. Use a thin tipped screw driver to carefully pry the flange up into the hose. This provides clearance for the O-ring seal when the tandem gear pump assem- bly is removed. 6 RCPH07CCH214BAB 7. Remove the two pump assembly mounting bolts. 7 RCPH07CCH420AAB 84318438 08/03/2010 A.10.A / 130
DISTRIBUTION SYSTEMS - PRIMARY HYDRAULIC POWER SYSTEM 8. Remove the tandem gear pump assembly. 8 RCPH07CCH421AAB 9. Remove and discard the O-ring seal from the inlet flange. 9 RCPH07CCH422AAB 10. Remove the O-ring from pump drive end flange. 10 RCPH07CCH215BAB Next operation: Tandem gear pump Charge and lubrication - Install (A.10.A) 84318438 08/03/2010 A.10.A / 131
DISTRIBUTION SYSTEMS - PRIMARY HYDRAULIC POWER SYSTEM Tandem gear pump Charge and lubrication - Install Magnum 225, Magnum 250, Magnum 280, Magnum 310, Magnum 335 Prior operation: Tandem gear pump Charge and lubrication - Remove (A.10.A) 1. Install a new O-ring on the inlet flange. 1 RCPH07CCH422AAB 2. Install a new O-ring on the pump drive flange. 2 RCPH07CCH215BAB 3. Install the tandem gear pump assembly onto the pump drive. Be careful to keep O-ring seals in place. 3 RCPH07CCH421AAB 84318438 08/03/2010 A.10.A / 132
DISTRIBUTION SYSTEMS - PRIMARY HYDRAULIC POWER SYSTEM 4. Install the two pump mounting bolts. Tighten to a torque of 90 - 107 Nm (60 - 79 lb ft). 4 RCPH07CCH420AAB 5. Align the inlet flange and install the two mounting bolts. Tighten each bolt to a torque of 73 - 87 Nm (54 - 64 lb ft). 5 RCPH07CCH419AAB 6. Position the pump inlet hose down against flange. Tighten both the top and bottom hose clamp. 6 RCPH07CCH417AAB 7. Connect the pressure switch connector to the filter housing. 7 RCPH07CCH416AAB 84318438 08/03/2010 A.10.A / 133
DISTRIBUTION SYSTEMS - PRIMARY HYDRAULIC POWER SYSTEM 8. Remove the caps and install new O-rings on both pump fittings. Connect the hose assemblies for the charge outlet (1) and the regulated circuit outlet (2) to the pump fittings. Tighten both hose connections. 8 RCPH07CCH415AAB Next operation: Pressure/flow compensating (PFC) pump Dual flow - Install (A.10.A) 84318438 08/03/2010 A.10.A / 134
DISTRIBUTION SYSTEMS - PRIMARY HYDRAULIC POWER SYSTEM Pump drive - Remove Magnum 225, Magnum 250, Magnum 280, Magnum 310, Magnum 335 Prior operation: Move the right hand rear wheel out on the axle, or remove the wheel. If the wheel is removed, block the front wheels and properly supporting the rear axle. Prior operation: Remove the charge pump and filter. See Tandem gear pump Charge and lubrication - Remove (A.10.A). Prior operation: Remove the transmission filter and the pressure and flow compensating pump. See Pressure/flow compensating (PFC) pump - Remove (A.10.A) or Pressure/flow compensating (PFC) pump Dual flow - Remove (A.10.A). 1. Use identification tags to mark the hydraulic lines. Cap the lines and open fittings. 2. Remove the three hydraulic line clamps (5) on top of the hydraulic line support bracket. 1 RCPH07CCH630BBC 3. Remove the two mounting bolts (6) from the hy- draulic line support bracket. 2 RCPH07CCH652BBC 84318438 08/03/2010 A.10.A / 135
DISTRIBUTION SYSTEMS - PRIMARY HYDRAULIC POWER SYSTEM 4. Remove the two longer top mounting bolts and the six shorter bolts from the pump drive mounting flange. Remove the pump drive assembly. 3 RCPH07CCH631BBC Next operation: Pump drive - Disassemble (A.10.A) 84318438 08/03/2010 A.10.A / 136
DISTRIBUTION SYSTEMS - PRIMARY HYDRAULIC POWER SYSTEM Pump drive - Disassemble Magnum 225, Magnum 250, Magnum 280, Magnum 310, Magnum 335 Prior operation: Pump drive - Remove (A.10.A) 1. Remove the bearing cage from the pump drive hous- ing. 1 RCPH07CCH648BBC 2. Remove the bearing cup from the bearing cage. 2 RCPH07CCH637ABC 3. Remove the shims from the pump drive housing. 3 RCPH07CCH633BBC 84318438 08/03/2010 A.10.A / 137
DISTRIBUTION SYSTEMS - PRIMARY HYDRAULIC POWER SYSTEM 4. Mark the gear positions and remove the drive gear assembly from the pump drive housing. 4 RCPH07CCH634ABC 5. Remove the idler gear bolt and washer from the pump drive housing. 5 RCPH07CCH650BBC 6. Install a slide hammer on the idler gear shaft. 6 RCPH07CCH651BBC 84318438 08/03/2010 A.10.A / 138
Suggest: If the above button click is invalid. Please download this document first, and then click the above link to download the complete manual. Thank you so much for reading
DISTRIBUTION SYSTEMS - PRIMARY HYDRAULIC POWER SYSTEM 7. Remove the idler gear assembly from the pump drive housing. 7 RCPH07CCH649BBC 8. Remove the idler gear assembly from the pump drive housing. 8 RCPH07CCH645ABC 9. Drive one of the bearings from the idler gear. Discard the bearing. 9 RCPH07CCH644ABC 10. Remove the spacer from the idler gear. 10 RCPH07CCH643ABC 84318438 08/03/2010 A.10.A / 139
https://www.ebooklibonline.com Hello dear friend! Thank you very much for reading. Enter the link into your browser. The full manual is available for immediate download. https://www.ebooklibonline.com


![Comprehensive Case Study on [Insert Case Title Here]](/thumb/159705/comprehensive-case-study-on-insert-case-title-here.jpg)


![Property Settlements in Family Law: Case Study of Stamatou & Stamatou [2022] FedCFamC1F 241](/thumb/63303/property-settlements-in-family-law-case-study-of-stamatou-stamatou-2022-fedcfamc1f-241.jpg)