What is the Best Method for Removing Tile Flooring - 2
Discover the most effective way to remove tile flooring. Get expert tips to make tile removal quick and hassle-free.
Download Presentation

Please find below an Image/Link to download the presentation.
The content on the website is provided AS IS for your information and personal use only. It may not be sold, licensed, or shared on other websites without obtaining consent from the author. Download presentation by click this link. If you encounter any issues during the download, it is possible that the publisher has removed the file from their server.
E N D
Presentation Transcript
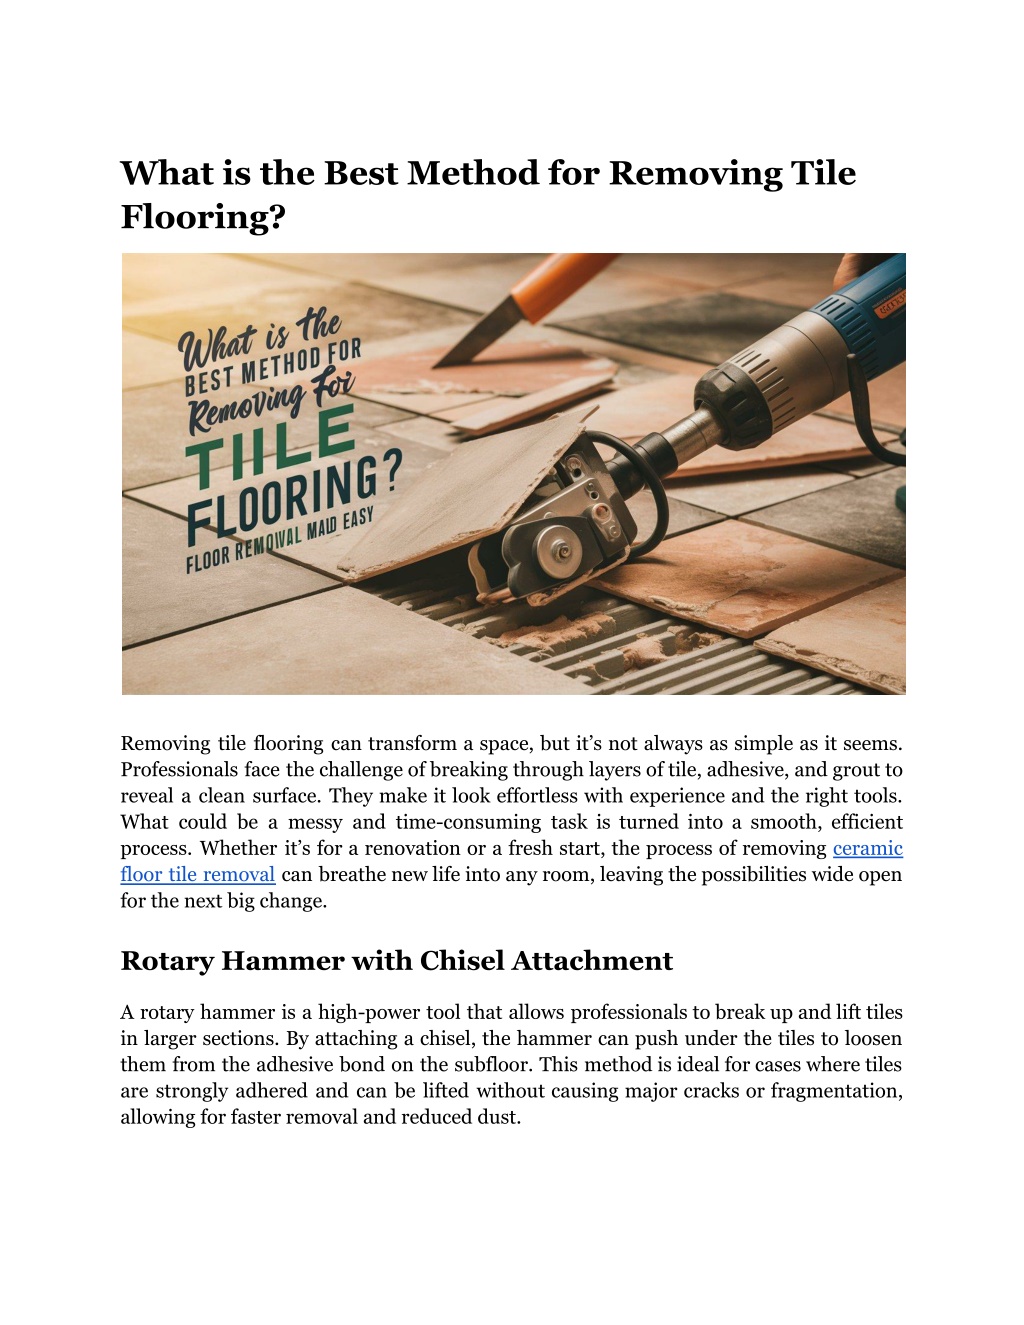
What is the Best Method for Removing Tile Flooring? Removing tile flooring can transform a space, but it s not always as simple as it seems. Professionals face the challenge of breaking through layers of tile, adhesive, and grout to reveal a clean surface. They make it look effortless with experience and the right tools. What could be a messy and time-consuming task is turned into a smooth, efficient process. Whether it s for a renovation or a fresh start, the process of removing ceramic floor tile removal can breathe new life into any room, leaving the possibilities wide open for the next big change. Rotary Hammer with Chisel Attachment A rotary hammer is a high-power tool that allows professionals to break up and lift tiles in larger sections. By attaching a chisel, the hammer can push under the tiles to loosen them from the adhesive bond on the subfloor. This method is ideal for cases where tiles are strongly adhered and can be lifted without causing major cracks or fragmentation, allowing for faster removal and reduced dust.
How It Works: The chisel attachment is angled at a slight incline and positioned under the tile. When the rotary hammer is activated, it provides a rapid chiseling motion that breaks the tile s bond with the adhesive layer below. When to Use: Professionals use this tool in large, open areas where tiles are installed with strong adhesives, such as concrete subfloors, which require a more aggressive approach. Pros: High speed and efficiency, especially for larger areas. Effectively removes tiles without causing extensive fragmentation. Minimizes physical strain due to motorized power. Cons: Requires skill and control to avoid gouging the subfloor. Can be noisy and create vibrations, making it less suitable in delicate areas. Dust control is a challenge without a vacuum attachment. Electric Floor Scraper Machine An electric floor scraper machine is designed specifically for large-scale tile removal projects. This heavy-duty machine uses a vibrating blade to loosen tiles and adhesive from the subfloor, often with enough force to dislodge multiple tiles in one pass. This method is particularly efficient in areas where tiles need to be removed quickly, such as in large commercial spaces or open-concept rooms. How It Works: The floor scraper machine (like the one from Tear It Up) operates on an electric motor that powers a flat blade. The blade scrapes against the subfloor as it vibrates, breaking the bond between the tile and adhesive. Professionals guide the machine across the floor, allowing it to peel away tiles in large sections. When to Use: Best for expansive spaces, like open kitchens, hallways, and commercial rooms, where a large amount of tile needs to be removed in a short time. Pros: Highly efficient and covers large areas quickly. Reduces labor time and physical strain. Effective at removing tiles and adhesives simultaneously. Cons: Limited maneuverability in tight or complex spaces. Requires an electric power source, so it s not ideal for confined spaces. Can be difficult to transport due to size and weight.
Dust-Containing Grinder with Diamond Pads A grinder with diamond pads is essential for removing tough adhesive or thinset residue left after tile removal. These grinders, equipped with diamond pads, are able to sand down the adhesive without damaging the subfloor. For dust control, professionals often use grinders with HEPA-filter vacuum attachments, which capture dust particles and improve air quality during the process. How It Works: The diamond pads attached to the grinder create a fine grinding surface that sands down adhesive layers. As the grinder moves over the floor, it evenly removes residue, creating a smooth subfloor ready for new flooring installation. When to Use: This method is used after tile removal to clean up adhesive, mortar, or thinset left on concrete or wooden subfloors. Pros: Leaves a smooth, adhesive-free surface. Compatible with HEPA-filter vacuums to minimize airborne dust. Essential for preparing the subfloor for new flooring installations. Cons: Time-consuming when used in large areas. Requires careful handling to avoid uneven grinding or surface gouging. Needs an electrical power source and proper ventilation if used indoors. Manual Chisels and Hammers for Detail Work While machines are efficient, there are always areas that require a careful, detailed approach. Manual chisels and hammers are tools professionals use to remove tiles in tight corners, around doorways, or in areas where machinery can t safely reach. This approach gives precision and control, making it ideal for protecting walls, cabinetry, or other nearby installations that could be damaged by larger equipment. How It Works: A professional places the chisel at the edge of the tile, tapping it with a hammer to break the tile away in smaller pieces. This approach allows them to carefully detach tiles without impacting adjacent surfaces. When to Use: Necessary for edges, corners, and spaces with architectural features or permanent installations where precise tile removal is required. Pros: Provides control and precision, essential for delicate areas. Allows for tile removal in tight or restricted spaces. Reduces risk of accidental damage to surrounding areas. Cons:
Time-intensive, especially in larger rooms. Physically demanding compared to motorized tools. Less efficient for expansive areas or thick adhesive layers. Heat Gun and Scraper for Adhesive Removal In situations where adhesive is particularly stubborn and has bonded deeply with the subfloor, professionals sometimes use a heat gun to soften the adhesive, making it easier to scrape away. This approach is especially effective for sensitive subfloors, such as wood, where aggressive chiseling could cause gouging or surface damage. By heating the adhesive, professionals can achieve a more controlled removal process, preserving the integrity of the subfloor. How It Works: The heat gun is held over the adhesive to soften it, typically in small sections at a time. Once the adhesive becomes pliable, it can be scraped off the subfloor with a putty knife or specialized scraper, leaving the surface smooth. When to Use: Best for subfloors that are easily damaged, such as wood, or when removing thinset adhesive that has become difficult to scrape. Pros: Reduces risk of subfloor damage, especially on wood. Effective for adhesives that are otherwise hard to remove. Allows for controlled and precise adhesive removal. Cons: Time-consuming, as only small sections can be heated at a time. Requires ventilation due to potential fumes from heated adhesives. Not suitable for large-scale adhesive removal. Conclusion Professionals use these methods not only to speed up the tile floor removal process but to ensure the safety of the subfloor and minimize dust and debris. By employing the right techniques for different areas and adhesive types, they deliver clean, damage-free results. Whether it s a large commercial space or a detailed residential project, these top five methods allow for the efficient, clean removal of tile flooring, readying the space for its next phase. Ready to transform your floors? Tear It Up Floor Removal has you covered! Our expert team will handle the mess and stress, leaving you with a clean slate for your next project. Contact us today to get started! Site Article: What is the Best Method for Removing Tile Flooring


