Creating a Shared Address Book in VSPS
Learn how to create a shared address book in VSPS by setting up a practice managed by the Practice Manager, who can add or remove users to access the address book. Follow step-by-step instructions to invite users and manage access to the shared address book efficiently.

Download Presentation

Please find below an Image/Link to download the presentation.
The content on the website is provided AS IS for your information and personal use only. It may not be sold, licensed, or shared on other websites without obtaining consent from the author. Download presentation by click this link. If you encounter any issues during the download, it is possible that the publisher has removed the file from their server.
E N D
Presentation Transcript
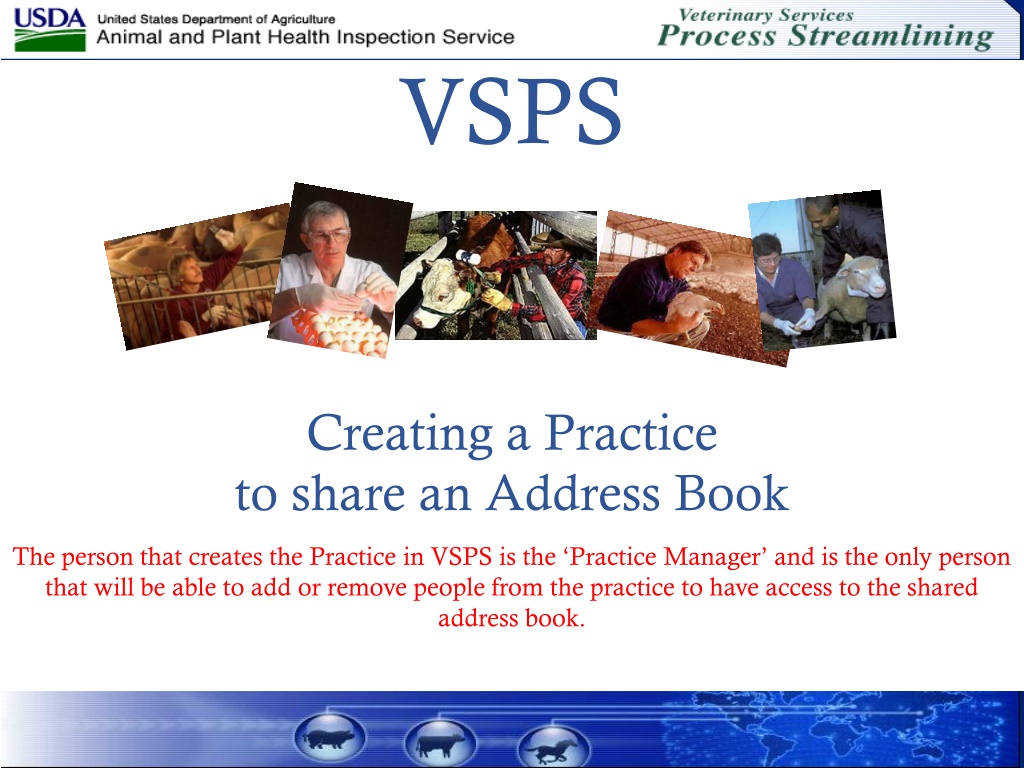
VSPS Creating a Practice to share an Address Book The person that creates the Practice in VSPS is the Practice Manager and is the only person that will be able to add or remove people from the practice to have access to the shared address book.
Login to VSPS Have the person that is going to be the Practice Manager log into VSPS. Go to: https://vsapps.aphis.usda.gov/vsps/ Select Log In
Enter you E-Auth user ID and password. Select Login
Enter a Business Name for the address book, check the box and click save. The Business Name will be the name of your shared address book.
Enter the email address for the person you want to add to have access to the address book. Click Add User. Note: The person you are adding must have logged into VSPS, created their profile and requested the Importer Role.
You will get a green notice that the person has been invited to the practice. You will see their name under the Practice Members. You can remove practice members by clicking on the Remove link. They will not be able to view the shared address book if you remove them.
The person that was invited to the practice must login to VSPS and Accept the Invitation
The person invited to the practice will need to log into VSPS and accept the invitation to the practice before they will be able to see the shared address book. For this example I am now logged in as Randy Munger who was invited to the practice address book. Click on Business Profile
There will be a message that the Practice Membership has been updated. That person is now a member of the practice and will be able to use entries in the shared address book when creating an importation request.
Adding people to the shared address book
Anyone that is a member of the practice can add people to the practice address book. Click on Business Profile then click on Address Book .
To add people to the shared address book click the drop down arrow under Address Book and select the shared address book name. Click Go to add a person to the address book.
To move addresses from the personal book to a shared address book
If you have addresses you entered in your Personal address book that you want to move to the shared address book so others can use them: Uncheck the box for your shared address book so just the Personal box is checked to search for only the personal addresses you have entered. Click Search.
Notice the name under Book is Personal since the address is currently in the Personal address book. Click on the drop down arrow next to 10 and select 25, 50, or 100 so all addresses show on one page. Check the box to Select All .
Click on the drop down arrow under Action and select Copy selected to Book . Click the drop down arrow under Address Book and select Your shared address book name . Click Go. This copies the addresses selected to the shared address book.
If you do another search for only addresses in the shared address book by unchecking the Personal box and only checking the shared address book name and click Search, you will see the addresses listed will have the shared address book name under the Book column name. This verifies the address(s) were copied to the shared address book.
The address will be in both the personal book and the shared address book. You can delete the addresses from your personal book by doing the following: 1. 2. 3. 4. 5. 6. Check the box for only Personal. (Make sure all other box s are unchecked). Click Search. Check the box to Select All. Under Action select the Delete Selected. Under Address Books select Personal. Click Go.
If you need help please email: VS.VSPS.U.S.Imports.Help@aphis.usda.gov