Caterpillar Cat 950G WHEEL LOADER (Prefix 6NS) Service Repair Manual Instant Download (6NS00252 and up)
Please open the website below to get the complete manualnn//
Download Presentation

Please find below an Image/Link to download the presentation.
The content on the website is provided AS IS for your information and personal use only. It may not be sold, licensed, or shared on other websites without obtaining consent from the author. Download presentation by click this link. If you encounter any issues during the download, it is possible that the publisher has removed the file from their server.
E N D
Presentation Transcript
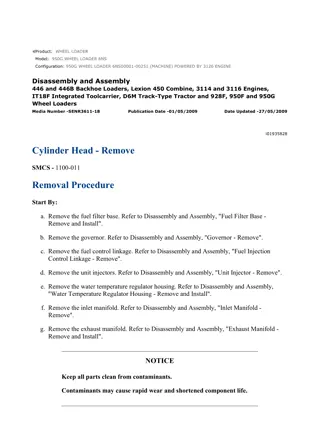
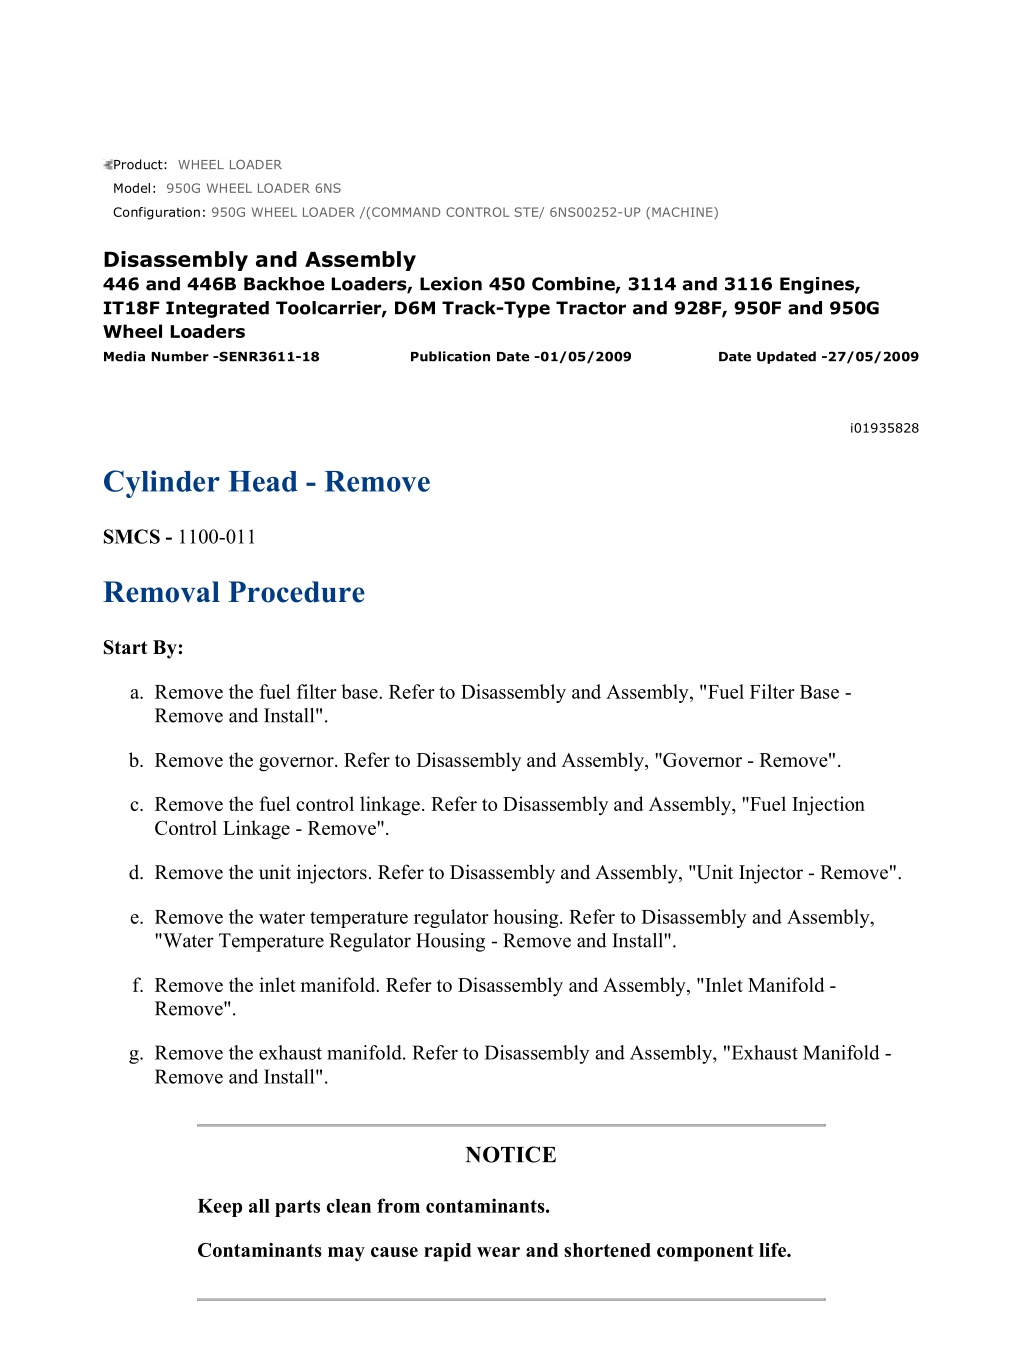
950G WHEEL LOADER /(COMMAND CONTROL STE/ 6NS00252-UP (MACHIN... 1/3 Product: WHEEL LOADER Model: 950G WHEEL LOADER 6NS Configuration: 950G WHEEL LOADER /(COMMAND CONTROL STE/ 6NS00252-UP (MACHINE) Disassembly and Assembly 446 and 446B Backhoe Loaders, Lexion 450 Combine, 3114 and 3116 Engines, IT18F Integrated Toolcarrier, D6M Track-Type Tractor and 928F, 950F and 950G Wheel Loaders Media Number -SENR3611-18 Publication Date -01/05/2009 Date Updated -27/05/2009 i01935828 Cylinder Head - Remove SMCS - 1100-011 Removal Procedure Start By: a. Remove the fuel filter base. Refer to Disassembly and Assembly, "Fuel Filter Base - Remove and Install". b. Remove the governor. Refer to Disassembly and Assembly, "Governor - Remove". c. Remove the fuel control linkage. Refer to Disassembly and Assembly, "Fuel Injection Control Linkage - Remove". d. Remove the unit injectors. Refer to Disassembly and Assembly, "Unit Injector - Remove". e. Remove the water temperature regulator housing. Refer to Disassembly and Assembly, "Water Temperature Regulator Housing - Remove and Install". f. Remove the inlet manifold. Refer to Disassembly and Assembly, "Inlet Manifold - Remove". g. Remove the exhaust manifold. Refer to Disassembly and Assembly, "Exhaust Manifold - Remove and Install". NOTICE Keep all parts clean from contaminants. Contaminants may cause rapid wear and shortened component life. https://127.0.0.1/sisweb/sisweb/techdoc/techdoc_print_page.jsp?returnurl=/sis... 2022/5/27
950G WHEEL LOADER /(COMMAND CONTROL STE/ 6NS00252-UP (MACHIN... 2/3 NOTICE Care must be taken to ensure that fluids are contained during performance of inspection, maintenance, testing, adjusting, and repair of the product. Be prepared to collect the fluid with suitable containers before opening any compartment or disassembling any component containing fluids. Refer to Special Publication, NENG2500, "Dealer Service Tool Catalog" for tools and supplies suitable to collect and contain fluids on Cat products. Dispose of all fluids according to local regulations and mandates. Note: For information on the reusability of the cylinder head, refer to Guideline For Reusable Parts And Salvage Operations, SEBF8218, "Specifications for Cylinder Head Assemblies 3114, 3116, and 3126 Engines" and Guideline For Reusable Parts And Salvage Operations, SEBF8162, "Procedure to Measure and Salvage Cylinder Head Assemblies and Related Components". Illustration 1 g01007597 Typical example 1. Attach a suitable lifting device to the cylinder head. https://127.0.0.1/sisweb/sisweb/techdoc/techdoc_print_page.jsp?returnurl=/sis... 2022/5/27
950G WHEEL LOADER /(COMMAND CONTROL STE/ 6NS00252-UP (MACHIN... 3/3 Illustration 2 g00654709 2. Remove bolts (1) and (2) that hold the cylinder head to the cylinder block. Carefully remove the cylinder head from the cylinder block. The cylinder head for the 3116 engine weighs approximately 85 kg (187 lb). Illustration 3 g00611342 3. Remove cylinder head gasket (3). https://127.0.0.1/sisweb/sisweb/techdoc/techdoc_print_page.jsp?returnurl=/sis... 2022/5/27
https://www.ebooklibonline.com Hello dear friend! Thank you very much for reading. Enter the link into your browser. The full manual is available for immediate download. https://www.ebooklibonline.com
950G WHEEL LOADER /(COMMAND CONTROL STE/ 6NS00252-UP (MACHIN... 1/5 Product: WHEEL LOADER Model: 950G WHEEL LOADER 6NS Configuration: 950G WHEEL LOADER /(COMMAND CONTROL STE/ 6NS00252-UP (MACHINE) Disassembly and Assembly 446 and 446B Backhoe Loaders, Lexion 450 Combine, 3114 and 3116 Engines, IT18F Integrated Toolcarrier, D6M Track-Type Tractor and 928F, 950F and 950G Wheel Loaders Media Number -SENR3611-18 Publication Date -01/05/2009 Date Updated -27/05/2009 i04147334 Cylinder Head - Install SMCS - 1100-012 Installation Procedure Table 1 Required Tools Tool Part Number Part Description Qty A 6V-4876 Lubricant 1 NOTICE Keep all parts clean from contaminants. Contaminants may cause rapid wear and shortened component life. Note: For information on the reusability of the cylinder head, refer to Guideline For Reusable Parts And Salvage Operations, SEBF8218, "Specifications for Cylinder Head Assemblies 3114, 3116, and 3126 Engines" and Guideline For Reusable Parts And Salvage Operations, SEBF8162, "Procedure to Measure and Salvage Cylinder Head Assemblies and Related Components". 1. Thoroughly clean the mating surfaces of the cylinder head and the cylinder block. https://127.0.0.1/sisweb/sisweb/techdoc/techdoc_print_page.jsp?returnurl=/sis... 2022/5/27
950G WHEEL LOADER /(COMMAND CONTROL STE/ 6NS00252-UP (MACHIN... 2/5 Illustration 1 g00611342 Typical example 2. Install a new cylinder head gasket (3) . Note: For information on the cylinder head gasket for 3116 engines, refer to Special Instruction, SEHS9395, "3116 Cylinder Head Gasket Usage". Illustration 2 g01007597 Typical example Note: To avoid damage to the cylinder head gasket, use guide bolts of an appropriate size to install the cylinder head. 3. Attach a suitable lifting device to the cylinder head. Position the cylinder head assembly onto the dowels in the cylinder block. Lower the cylinder head onto the cylinder block. https://127.0.0.1/sisweb/sisweb/techdoc/techdoc_print_page.jsp?returnurl=/sis... 2022/5/27
950G WHEEL LOADER /(COMMAND CONTROL STE/ 6NS00252-UP (MACHIN... 3/5 Illustration 3 g00654709 4. Inspect the condition of cylinder head bolts (1) and (2) . For information on the reusability of the bolts, refer to Guideline For Reusable Parts And Salvage Operations, SEBF8301, "Inspection and Reuse of Critical Fasteners Used in All Engines". Replace cylinder head bolts (1) and (2) , if necessary. 5. Lubricate cylinder head bolts (1) and (2) and both sides of the washers with Tooling (A) . Install cylinder head bolts (1) and (2) . Follow Step 6 for the correct tightening procedure. Illustration 4 g00641677 3114 Cylinder head https://127.0.0.1/sisweb/sisweb/techdoc/techdoc_print_page.jsp?returnurl=/sis... 2022/5/27
950G WHEEL LOADER /(COMMAND CONTROL STE/ 6NS00252-UP (MACHIN... 4/5 Illustration 5 g00611358 6. Tighten the cylinder head bolts according to the following procedure: 7. Tighten bolts (1) through bolt (14) in a numerical sequence to a torque of 300 15 N m (221 11 lb ft). 8. Loosen bolts (1) through bolt (14) to a torque of 0 N m. 9. Tighten bolts (1) through bolt (14) again in a numerical sequence to a torque of 130 15 N m (96 11 lb ft). 10. Retighten bolts (1) through bolt (14) again in a numerical sequence to a torque of 130 15 N m (96 11 lb ft). 11. Turn bolts (1) through bolt (14) by numerical sequence an additional 90 (1/4 turn). 12. Tighten bolt (15) through bolt (20) in a numerical sequence to a torque of 55 7 N m (41 5 lb ft). End By: a. Install the exhaust manifold. Refer to Disassembly and Assembly, "Exhaust Manifold - Remove and Install". b. Install the inlet manifold. Refer to Disassembly and Assembly, "Inlet Manifold - Install". c. Install the water temperature regulator housing. Refer to Disassembly and Assembly, "Water Temperature Regulator Housing- Remove and Install". d. Install the unit injectors. Refer to Disassembly and Assembly, "Unit Injector - Install". e. Install the fuel control linkage. Refer to Disassembly and Assembly, "Fuel Injection Control Linkage - Install". f. Install the governor. Refer to Disassembly and Assembly, "Governor - Install". g. Install the fuel filter base. Refer to Disassembly and Assembly, "Fuel Filter Base - Remove and Install". https://127.0.0.1/sisweb/sisweb/techdoc/techdoc_print_page.jsp?returnurl=/sis... 2022/5/27
950G WHEEL LOADER /(COMMAND CONTROL STE/ 6NS00252-UP (MACHIN... 1/4 Product: WHEEL LOADER Model: 950G WHEEL LOADER 6NS Configuration: 950G WHEEL LOADER /(COMMAND CONTROL STE/ 6NS00252-UP (MACHINE) Disassembly and Assembly 446 and 446B Backhoe Loaders, Lexion 450 Combine, 3114 and 3116 Engines, IT18F Integrated Toolcarrier, D6M Track-Type Tractor and 928F, 950F and 950G Wheel Loaders Media Number -SENR3611-18 Publication Date -01/05/2009 Date Updated -27/05/2009 i01930413 Lifter Group - Remove and Install SMCS - 1209-010 Removal Procedure Start By: a. Remove the rocker shaft and the pushrods. Refer to Disassembly and Assembly, "Rocker Shaft and Pushrod - Remove". NOTICE Keep all parts clean from contaminants. Contaminants may cause rapid wear and shortened component life. NOTICE Care must be taken to ensure that fluids are contained during performance of inspection, maintenance, testing, adjusting, and repair of the product. Be prepared to collect the fluid with suitable containers before opening any compartment or disassembling any component containing fluids. Refer to Special Publication, NENG2500, "Dealer Service Tool Catalog" for tools and supplies suitable to collect and contain fluids on Cat products. https://127.0.0.1/sisweb/sisweb/techdoc/techdoc_print_page.jsp?returnurl=/sis... 2022/5/27
950G WHEEL LOADER /(COMMAND CONTROL STE/ 6NS00252-UP (MACHIN... 2/4 Dispose of all fluids according to local regulations and mandates. Note: For information on reusability of components of the lifter group, refer to Guideline For Reusable Parts And Salvage Operations, SEBF8264, "Camshaft Roller Followers Used in 3114 and 3116 Engines" and Guideline For Reusable Parts And Salvage Operations, SEBF8067, "Slipper Followers and Camshaft Roller Followers". Illustration 1 g00747310 1. Remove bolts (1) from cover (2). 2. Carefully remove cover (2) and the gasket. Note: It may be necessary to remove the governor in order to remove the cover at the front of the engine. Illustration 2 g00629677 3. Remove bolts (4), lifter shaft (5), and lifters (3) from cover (2). Installation Procedure https://127.0.0.1/sisweb/sisweb/techdoc/techdoc_print_page.jsp?returnurl=/sis... 2022/5/27
950G WHEEL LOADER /(COMMAND CONTROL STE/ 6NS00252-UP (MACHIN... 3/4 NOTICE Keep all parts clean from contaminants. Contaminants may cause rapid wear and shortened component life. Note: For information on reusability of components of the lifter group, refer to Guideline For Reusable Parts And Salvage Operations, SEBF8264, "Camshaft Roller Followers Used in 3114 and 3116 Engines" and Guideline For Reusable Parts And Salvage Operations, SEBF8067, "Slipper Followers and Camshaft Roller Followers". Illustration 3 g00629677 1. Position lifters (3) and lifter shaft (5) on cover (2). Install bolts (4). Illustration 4 g00747310 2. Position the gasket and cover (2) on the engine. 3. Install bolts (1) in cover (2). End By: https://127.0.0.1/sisweb/sisweb/techdoc/techdoc_print_page.jsp?returnurl=/sis... 2022/5/27
950G WHEEL LOADER /(COMMAND CONTROL STE/ 6NS00252-UP (MACHIN... 4/4 a. Install the rocker shaft and the pushrods. Refer to Disassembly and Assembly, "Rocker Shaft and Pushrod - Install". https://127.0.0.1/sisweb/sisweb/techdoc/techdoc_print_page.jsp?returnurl=/sis... 2022/5/27
950G WHEEL LOADER /(COMMAND CONTROL STE/ 6NS00252-UP (MACHIN... 1/3 Product: WHEEL LOADER Model: 950G WHEEL LOADER 6NS Configuration: 950G WHEEL LOADER /(COMMAND CONTROL STE/ 6NS00252-UP (MACHINE) Disassembly and Assembly 446 and 446B Backhoe Loaders, Lexion 450 Combine, 3114 and 3116 Engines, IT18F Integrated Toolcarrier, D6M Track-Type Tractor and 928F, 950F and 950G Wheel Loaders Media Number -SENR3611-18 Publication Date -01/05/2009 Date Updated -27/05/2009 i01930426 Camshaft - Remove SMCS - 1210-011 Removal Procedure Start By: a. Remove the governor. Refer to Disassembly and Assembly, "Governor - Remove". b. Remove the side covers. Refer to Disassembly and Assembly, "Lifter Group - Remove and Install". c. Remove the front cover. Refer to Disassembly and Assembly, "Front Cover - Remove". NOTICE Keep all parts clean from contaminants. Contaminants may cause rapid wear and shortened component life. NOTICE Care must be taken to ensure that fluids are contained during performance of inspection, maintenance, testing, adjusting, and repair of the product. Be prepared to collect the fluid with suitable containers before opening any compartment or disassembling any component containing fluids. https://127.0.0.1/sisweb/sisweb/techdoc/techdoc_print_page.jsp?returnurl=/sis... 2022/5/27
950G WHEEL LOADER /(COMMAND CONTROL STE/ 6NS00252-UP (MACHIN... 2/3 Refer to Special Publication, NENG2500, "Dealer Service Tool Catalog" for tools and supplies suitable to collect and contain fluids on Cat products. Dispose of all fluids according to local regulations and mandates. Note: For information on reusability of the camshaft, refer to Guideline For Reusable Parts And Salvage Operations, SEBF8097, "Camshaft Measurement", Guideline For Reusable Parts And Salvage Operations, SEBF8146, "Visual Inspection of Camshafts", and Guideline For Reusable Parts And Salvage Operations, SEBF8251, "Specifications for Measurement of Camshafts in 3114/3116 Engines". For information on reusability of the camshaft gear, refer to Guideline For Reusable Parts And Salvage Operations, SEBF8045, "Timing Gears for All Engines". Note: The air compressor was removed in order to accommodate the engine repair stand. Note: It is not necessary to remove the cylinder head for removal of the camshaft. 1. Turn the crankshaft to top center compression stroke for the No. 1 piston. Install the timing bolt in the flywheel. This is for timing during installation. Illustration 1 g01007643 Typical example 2. Ensure that timing mark (1) on the camshaft gear is aligned with timing mark (2) on the idler gear. https://127.0.0.1/sisweb/sisweb/techdoc/techdoc_print_page.jsp?returnurl=/sis... 2022/5/27
950G WHEEL LOADER /(COMMAND CONTROL STE/ 6NS00252-UP (MACHIN... 3/3 Illustration 2 g01007645 3. Remove bolts (4) and camshaft retainer plate (6). 4. Remove camshaft gear (5) and camshaft (3) from the cylinder block. https://127.0.0.1/sisweb/sisweb/techdoc/techdoc_print_page.jsp?returnurl=/sis... 2022/5/27
950G WHEEL LOADER /(COMMAND CONTROL STE/ 6NS00252-UP (MACHIN... 1/3 Product: WHEEL LOADER Model: 950G WHEEL LOADER 6NS Configuration: 950G WHEEL LOADER /(COMMAND CONTROL STE/ 6NS00252-UP (MACHINE) Disassembly and Assembly 446 and 446B Backhoe Loaders, Lexion 450 Combine, 3114 and 3116 Engines, IT18F Integrated Toolcarrier, D6M Track-Type Tractor and 928F, 950F and 950G Wheel Loaders Media Number -SENR3611-18 Publication Date -01/05/2009 Date Updated -27/05/2009 i01936378 Camshaft - Install SMCS - 1210-012 Installation Procedure NOTICE Keep all parts clean from contaminants. Contaminants may cause rapid wear and shortened component life. Note: For information on reusability of the camshaft, refer to Guideline For Reusable Parts And Salvage Operations, SEBF8097, "Camshaft Measurement", Guideline For Reusable Parts And Salvage Operations, SEBF8146, "Visual Inspection of Camshafts", and Guideline For Reusable Parts And Salvage Operations, SEBF8251, "Specifications for Measurement of Camshafts in 3114/3116 Engines". For information on reusability of the camshaft gear, refer to Guideline For Reusable Parts And Salvage Operations, SEBF8045, "Timing Gears for All Engines". 1. Lubricate the camshaft and the camshaft bearings with clean engine oil. https://127.0.0.1/sisweb/sisweb/techdoc/techdoc_print_page.jsp?returnurl=/sis... 2022/5/27
950G WHEEL LOADER /(COMMAND CONTROL STE/ 6NS00252-UP (MACHIN... 2/3 Illustration 1 g01007645 2. Carefully install camshaft (3) and camshaft gear (5) in the engine. NOTICE When installing the camshaft, make sure the number one cylinder is at top center of the compression stroke with the timing bolt installed in the flywheel. The camshaft timing is very important. The timing mark on the camshaft drive gear must line up with the timing mark on the idler gear. Refer to the Specifications Manual for more information. Illustration 2 g01007643 Typical example 3. Ensure that timing mark (1) on the camshaft gear is aligned with timing mark (2) on the idler gear. https://127.0.0.1/sisweb/sisweb/techdoc/techdoc_print_page.jsp?returnurl=/sis... 2022/5/27
950G WHEEL LOADER /(COMMAND CONTROL STE/ 6NS00252-UP (MACHIN... 3/3 4. Install camshaft retainer plate (6) and bolts (4). End By: a. Install the front cover. Refer to Disassembly and Assembly, "Front Cover - Install". b. Install the side cover. Refer to Disassembly and Assembly, "Lifter Group - Remove and Install". c. Install the governor. Refer to Disassembly and Assembly, "Governor - Install". https://127.0.0.1/sisweb/sisweb/techdoc/techdoc_print_page.jsp?returnurl=/sis... 2022/5/27
950G WHEEL LOADER /(COMMAND CONTROL STE/ 6NS00252-UP (MACHIN... 1/2 Product: WHEEL LOADER Model: 950G WHEEL LOADER 6NS Configuration: 950G WHEEL LOADER /(COMMAND CONTROL STE/ 6NS00252-UP (MACHINE) Disassembly and Assembly 446 and 446B Backhoe Loaders, Lexion 450 Combine, 3114 and 3116 Engines, IT18F Integrated Toolcarrier, D6M Track-Type Tractor and 928F, 950F and 950G Wheel Loaders Media Number -SENR3611-18 Publication Date -01/05/2009 Date Updated -27/05/2009 i01171077 Camshaft Gear - Remove and Install SMCS - 1210-010-GE Removal Procedure Start By: a. Remove the camshaft. Refer to Disassembly and Assembly, "Camshaft - Remove". Note: For information on reusability of the camshaft gear, refer to Guideline For Reusable Parts And Salvage Operations, SEBF8045, "Timing Gears for All Engines". 1. Wrap the camshaft with a protective covering in order to prevent damage to the camshaft. Illustration 1 g00611152 NOTICE https://127.0.0.1/sisweb/sisweb/techdoc/techdoc_print_page.jsp?returnurl=/sis... 2022/5/27
950G WHEEL LOADER /(COMMAND CONTROL STE/ 6NS00252-UP (MACHIN... 2/2 Do not allow the camshaft to fall to the floor when pressing it from the drive gear. Also make sure that the camshaft lobes do not catch on the press plates. 2. Place the camshaft and camshaft gear (1) in a suitable press. Press the camshaft from camshaft gear (1). Installation Procedure Note: For information on reusability of the camshaft gear, refer to Guideline For Reusable Parts And Salvage Operations, SEBF8045, "Timing Gears for All Engines". Illustration 2 g00611152 1. Heat the camshaft gear to a maximum temperature of 315 C (600 F). 2. Align the key in the camshaft with the groove (keyway) in the camshaft gear. 3. Install the camshaft gear on the end of the camshaft. End By: a. Install the camshaft. Refer to Disassembly and Assembly, "Camshaft - Install". https://127.0.0.1/sisweb/sisweb/techdoc/techdoc_print_page.jsp?returnurl=/sis... 2022/5/27
950G WHEEL LOADER /(COMMAND CONTROL STE/ 6NS00252-UP (MACHIN... 1/4 Product: WHEEL LOADER Model: 950G WHEEL LOADER 6NS Configuration: 950G WHEEL LOADER /(COMMAND CONTROL STE/ 6NS00252-UP (MACHINE) Disassembly and Assembly 446 and 446B Backhoe Loaders, Lexion 450 Combine, 3114 and 3116 Engines, IT18F Integrated Toolcarrier, D6M Track-Type Tractor and 928F, 950F and 950G Wheel Loaders Media Number -SENR3611-18 Publication Date -01/05/2009 Date Updated -27/05/2009 i02183087 Camshaft Bearings - Remove and Install SMCS - 1211-010 Removal Procedure Table 1 Required Tools Tool Part Number Part Description Qty A 8S-2241 Camshaft Bearing Tool Group 1 Start By: a. Remove the camshaft. Refer to Disassembly and Assembly, "Camshaft - Remove". NOTICE Keep all parts clean from contaminants. Contaminants may cause rapid wear and shortened component life. NOTICE Care must be taken to ensure that fluids are contained during performance of inspection, maintenance, testing, adjusting, and repair of the product. Be prepared to collect the fluid with suitable containers https://127.0.0.1/sisweb/sisweb/techdoc/techdoc_print_page.jsp?returnurl=/sis... 2022/5/27
950G WHEEL LOADER /(COMMAND CONTROL STE/ 6NS00252-UP (MACHIN... 2/4 before opening any compartment or disassembling any component containing fluids. Refer to Special Publication, NENG2500, "Dealer Service Tool Catalog" for tools and supplies suitable to collect and contain fluids on Cat products. Dispose of all fluids according to local regulations and mandates. Note: Note the oil hole orientation in each camshaft bearing prior to removal for assembly purposes. 1. Use Tooling (A) to remove the camshaft bearings from the cylinder block. Installation Procedure Table 2 Required Tools Tool Part Number Part Description Qty A 8S-2241 Camshaft Bearing Tool Group 1 NOTICE Keep all parts clean from contaminants. Contaminants may cause rapid wear and shortened component life. https://127.0.0.1/sisweb/sisweb/techdoc/techdoc_print_page.jsp?returnurl=/sis... 2022/5/27
Suggest: For more complete manuals. Please go to the home page. https://www.ebooklibonline.com If the above button click is invalid. Please download this document first, and then click the above link to download the complete manual. Thank you so much for reading
950G WHEEL LOADER /(COMMAND CONTROL STE/ 6NS00252-UP (MACHIN... 3/4 Illustration 1 g01104577 https://127.0.0.1/sisweb/sisweb/techdoc/techdoc_print_page.jsp?returnurl=/sis... 2022/5/27
950G WHEEL LOADER /(COMMAND CONTROL STE/ 6NS00252-UP (MACHIN... 4/4 Illustration 2 g01104579 1. Use Tooling (A) to install all of the camshaft bearings except for the front bearing. Orient oil hole (1) in each bearing so that oil hole (1) is located at the top of the bore. 2. Use Tooling (A) to install the front camshaft bearing. Align oil hole (1) in the front camshaft bearing with the oil hole in the cylinder block. Locate joint (2) in the front camshaft bearing in the proper position. End By: a. Install the camshaft. Refer to Disassembly and Assembly, "Camshaft - Install". https://127.0.0.1/sisweb/sisweb/techdoc/techdoc_print_page.jsp?returnurl=/sis... 2022/5/27
https://www.ebooklibonline.com Hello dear friend! Thank you very much for reading. Enter the link into your browser. The full manual is available for immediate download. https://www.ebooklibonline.com

