Standard G6PD Test Quality Assurance Guide
This comprehensive guide covers the quality assurance features of the SD Biosensor STANDARD G6PD Test, including instructions on checking the strip, code chip, and control reagents. Learn how to use the check strip, change the code chip, and utilize quality control reagents for accurate testing results. Follow step-by-step procedures to ensure the analyzer operates correctly and delivers reliable readings. Maintain the integrity of your testing process by implementing these quality assurance measures.

Download Presentation

Please find below an Image/Link to download the presentation.
The content on the website is provided AS IS for your information and personal use only. It may not be sold, licensed, or shared on other websites without obtaining consent from the author. Download presentation by click this link. If you encounter any issues during the download, it is possible that the publisher has removed the file from their server.
E N D
Presentation Transcript
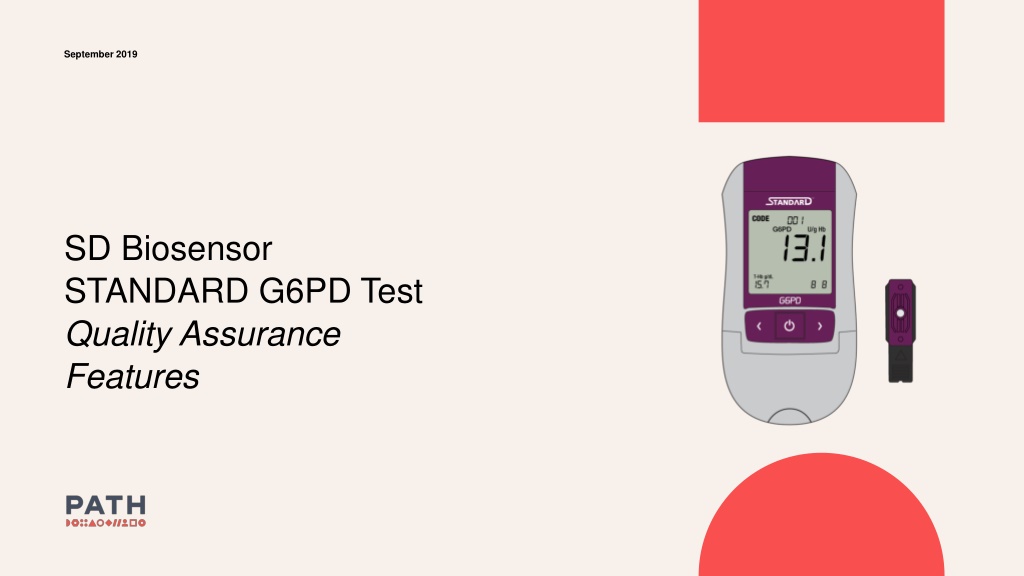
September 2019 SD Biosensor STANDARD G6PD Test Quality Assurance Features
1 Check strip 2 Code chip 3 Control reagents
Check Strip Check the check strip when: Using your analyzer for the first time Opening a new test device package The result does not agree with the test result expected Replacing the batteries or cleaning the analyzer You have dropped the analyzer 3
Check Strip, cont. To use the check strip: 1. Switch on the analyzer and press Left and Right button together for 3 seconds to enter the check strip test mode. When the CHE appears on the screen, insert the check strip. Wait 10 seconds. If there is any problem for the analyzer, EEE error message will appear on the screen. Otherwise, OK message will appear on the screen. 2. 3. 4. 4
1 Check Strip 2 Code Chip 3 Control Reagents
Code Chip The code chip provides the analyzer with important information on the STANDARD G6PD test device to measure the results accurately. The code chip should be changed each time a new kit box is opened (every 25 tests). The number on the code chip should be matched the number printed on the foil pouch and displayed on the analyzer screen. The code chip number corresponds to the test device lot number. 6
Code Chip 1. Check the expiry date printed on the foil pouch. 2. Check the code number printed on the foil pouch. 3. Make sure the code number printed on the pouch and the code chip match. 4. Make sure the analyzer is turned off. Remove old code chip if one is installed. 5. Insert a new code chip until it snaps into place. 7
1 Check Strip 2 Code Chip 3 Quality Control Reagents
Test Level 1 and Level 2 G6PD Controls QC reagents are high and low controls with known values that can be used for quality assurance. They can be used to train users, assess user proficiency, and perform regular QC to ensure product is functioning accurately. 9
Control Test 1. Open the foil pouch and take a test device out. 2. Hold the test device with thumb and index finger so that the upper test device is facing upwards. 3. Insert the test device into the test device slot until it will not go further. 4. Press the left button for 3 seconds. C mark will appear on the screen. C mark represents the control test mode. 5. Open the measurement chamber flap. 10
Test Controls 1. Check the expiry date printed on the control bottle. 2. Open the control bottle and take a tube out of the bottle. 3. Pour the control tablet from the tube into an extraction buffer in the STANDARD G6PD test kit. 4. Mix the control tablet and the extraction buffer with a new STANDARD Ezi tube+(10 l) 8 to 10 times with the hole of the Ezi tube +(10 l) closed. 5. Open the STANDARD Ezi tube+(10 l) pouch and take out a new STANDARD Ezi tube+(10 l). 11
Test Controls 6. Hold the STANDARD Ezi tube+(10 l) horizontally and touch the tip of the STANDARD Ezi tube+(10 l) to the control material. 7. Apply the control material to the specimen application hole of the test device. 8. Close the measurement chamber flap immediately after applying. 9. Discard used STANDARD Ezi tube+(10 l) in the sharps box. 10.Wait for 2 mins for the test result to appear on the screen. 12
For more information contact: Emily Gerth-Guyette egerthguyette@path.org Celia Chessin-Yudin cchessinyudin@path.org 13